Getting started
Render mode
How to make renderings
👉 Visit our website to follow along: https://www.vizcom.ai/
In this tutorial, you will learn how to go from sketch to render in just a few seconds with a simple sketch and a text description.
👉 Find the example sketch here
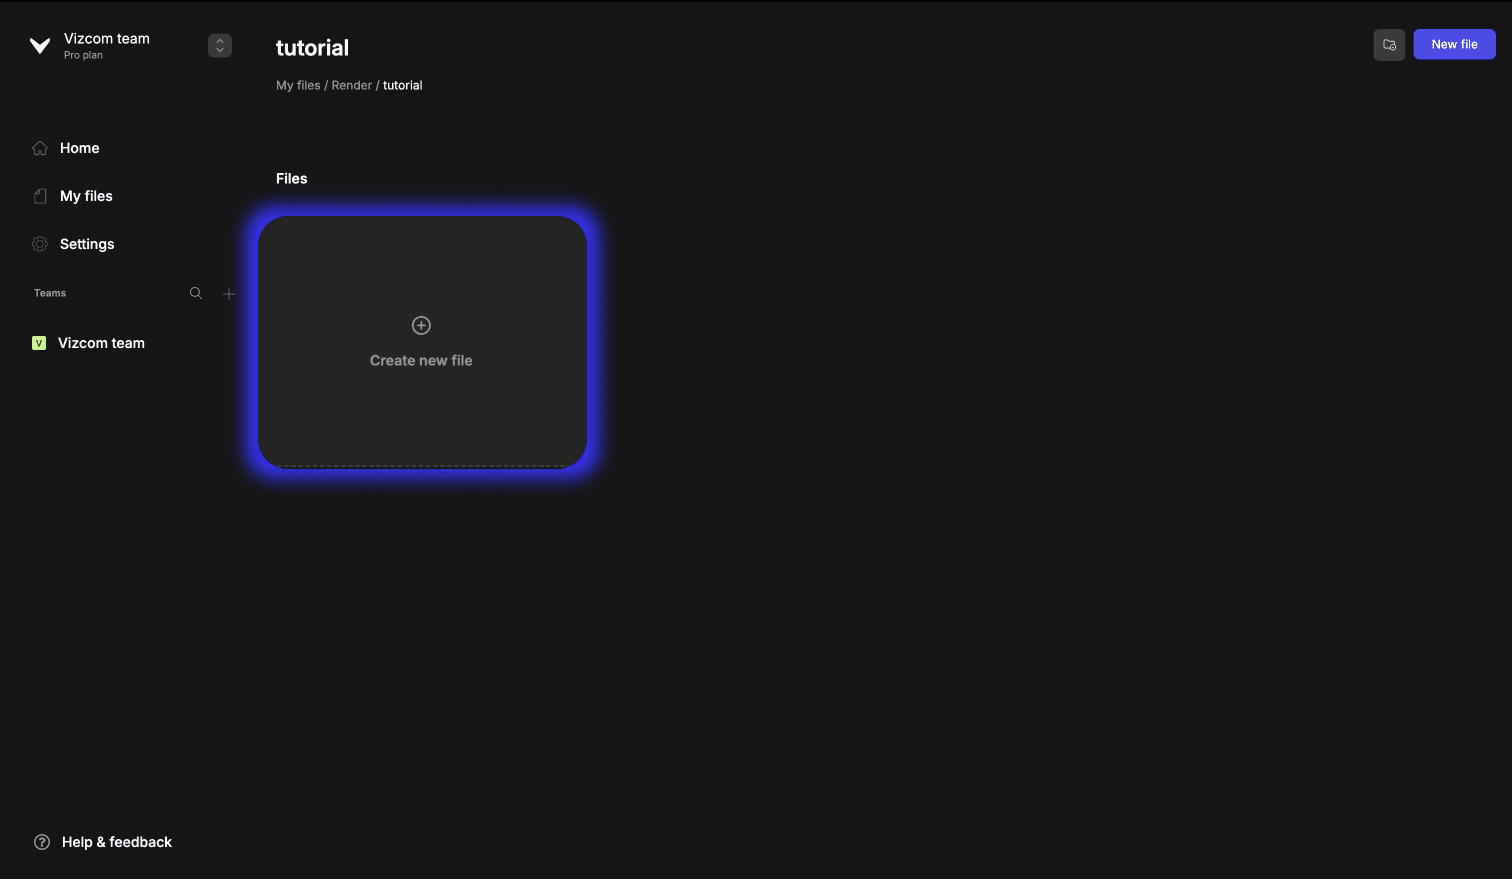
Step 1
Create a new file!
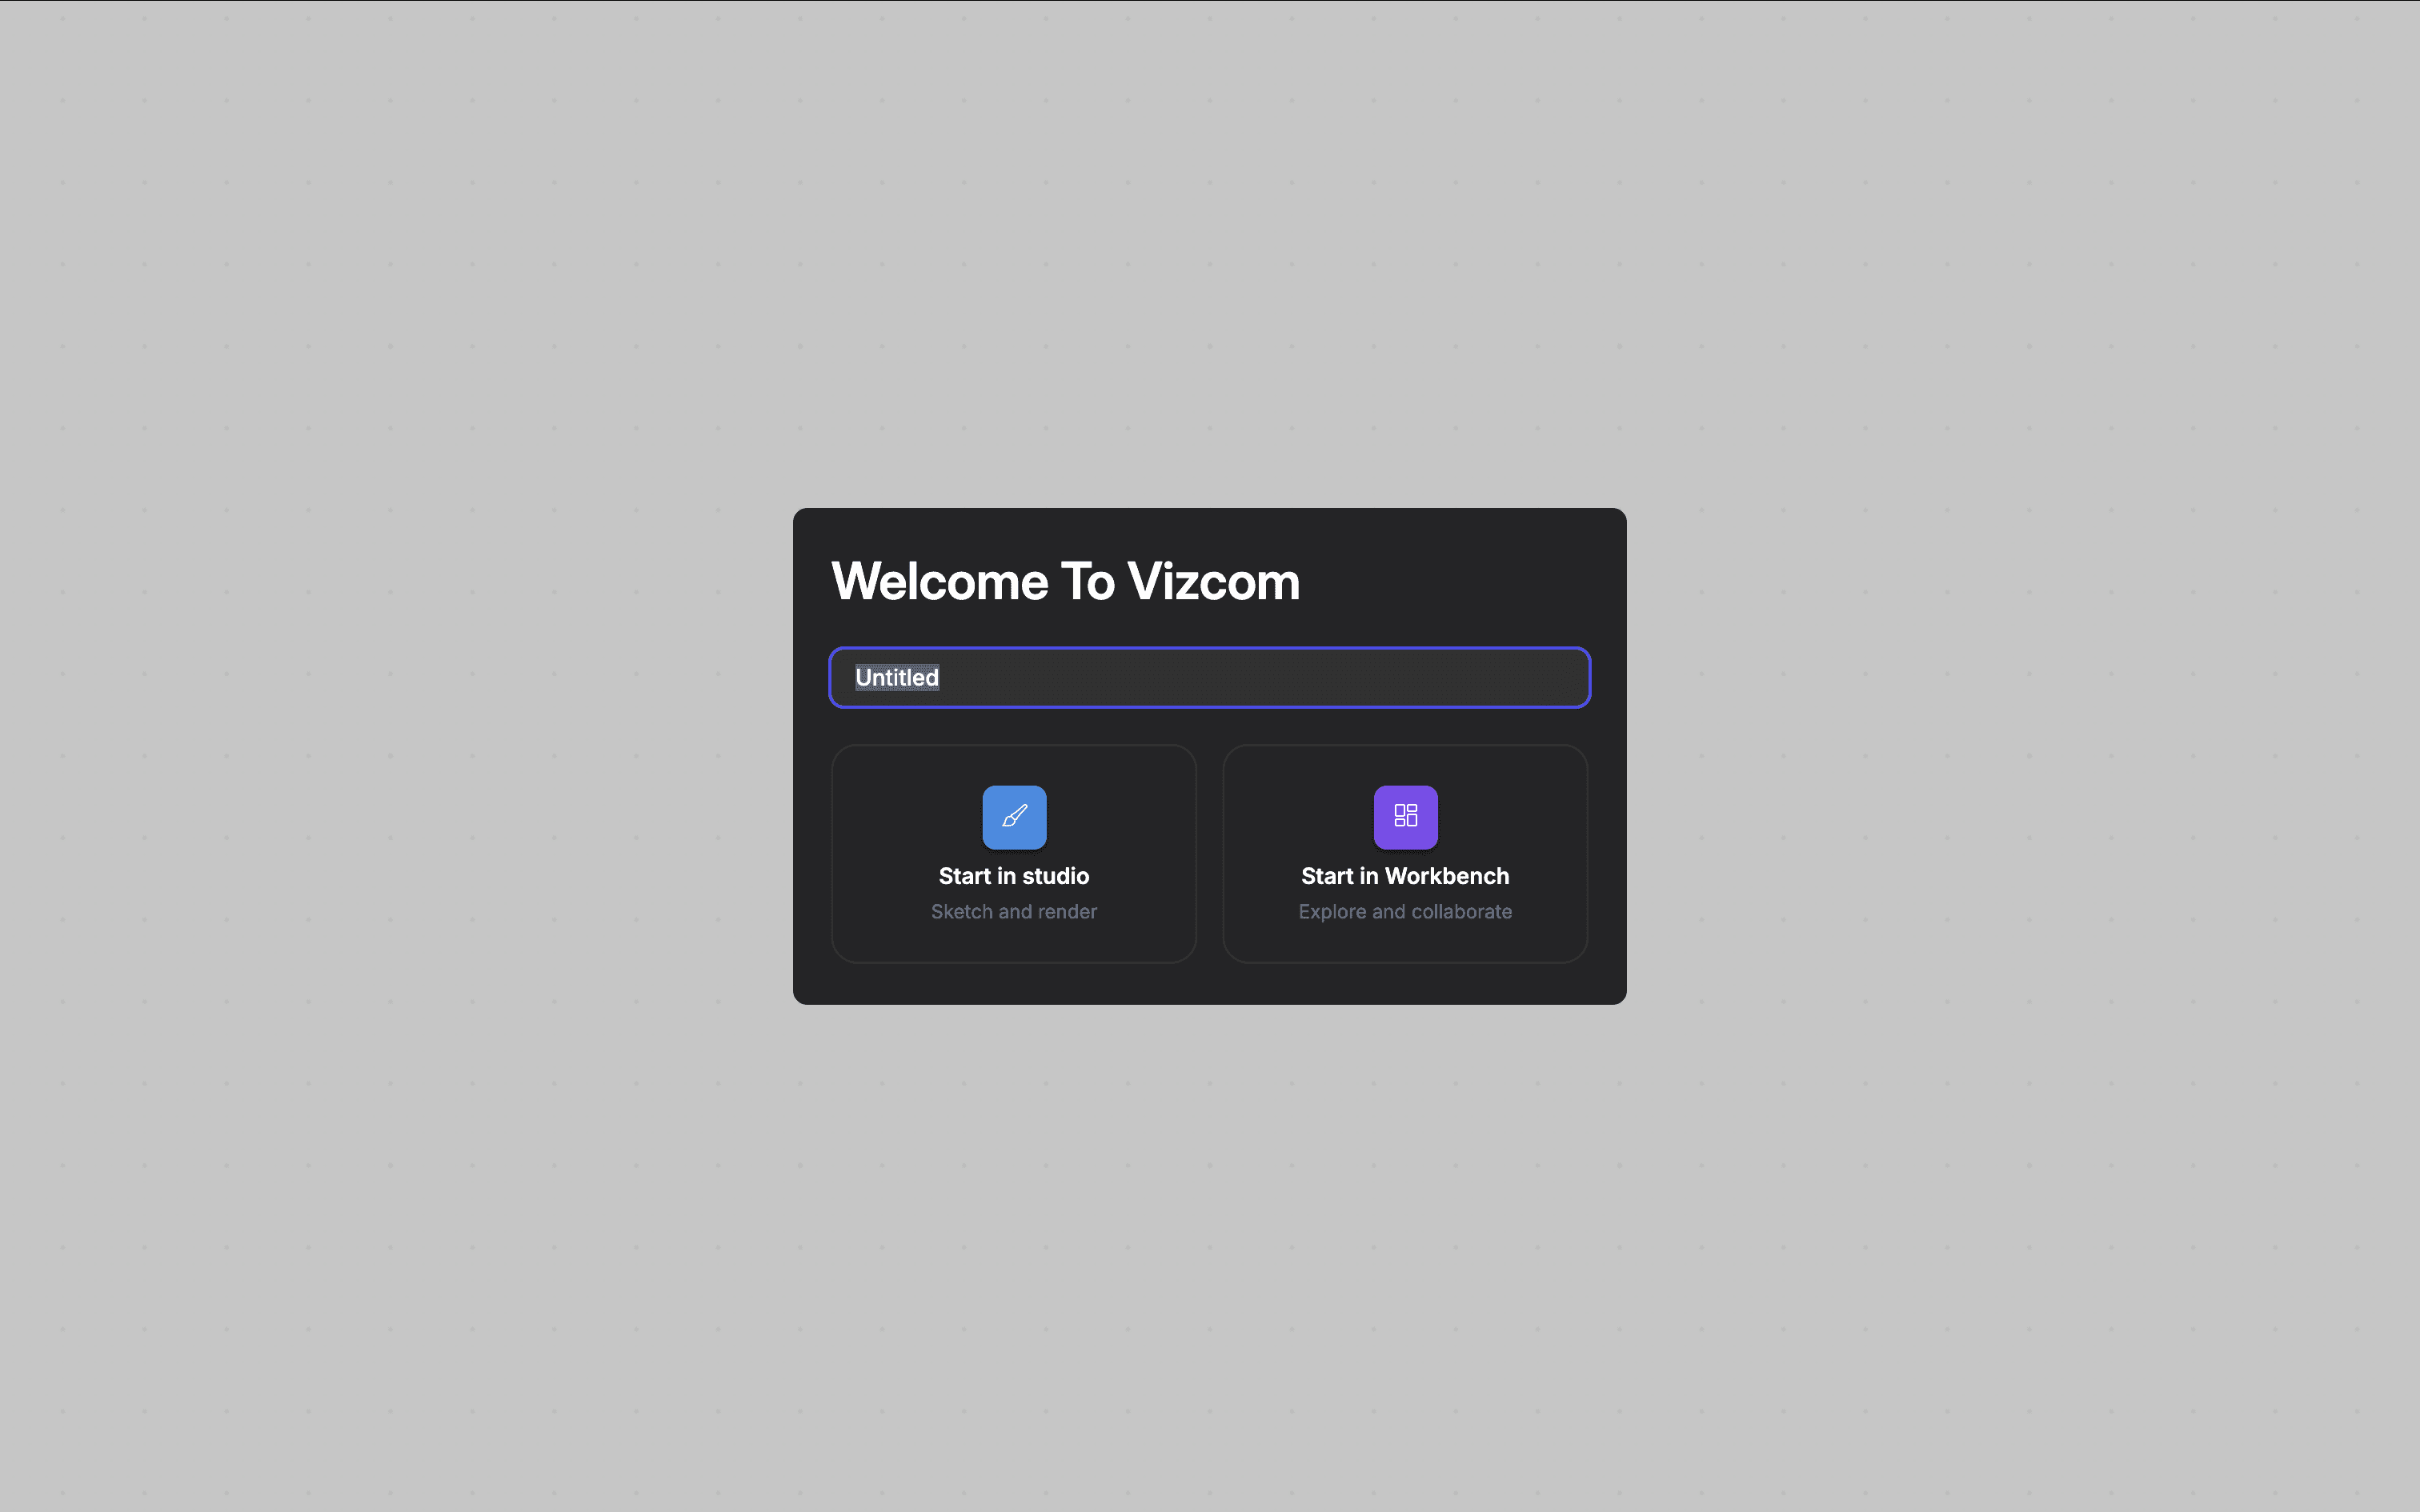
And choose which layout you want to start your project with.
(Starting in the drawing studio, you can instantly start sketching on the canvas, but if you already have a sketch that you want to explore on the infinite canvas, choose that option.)
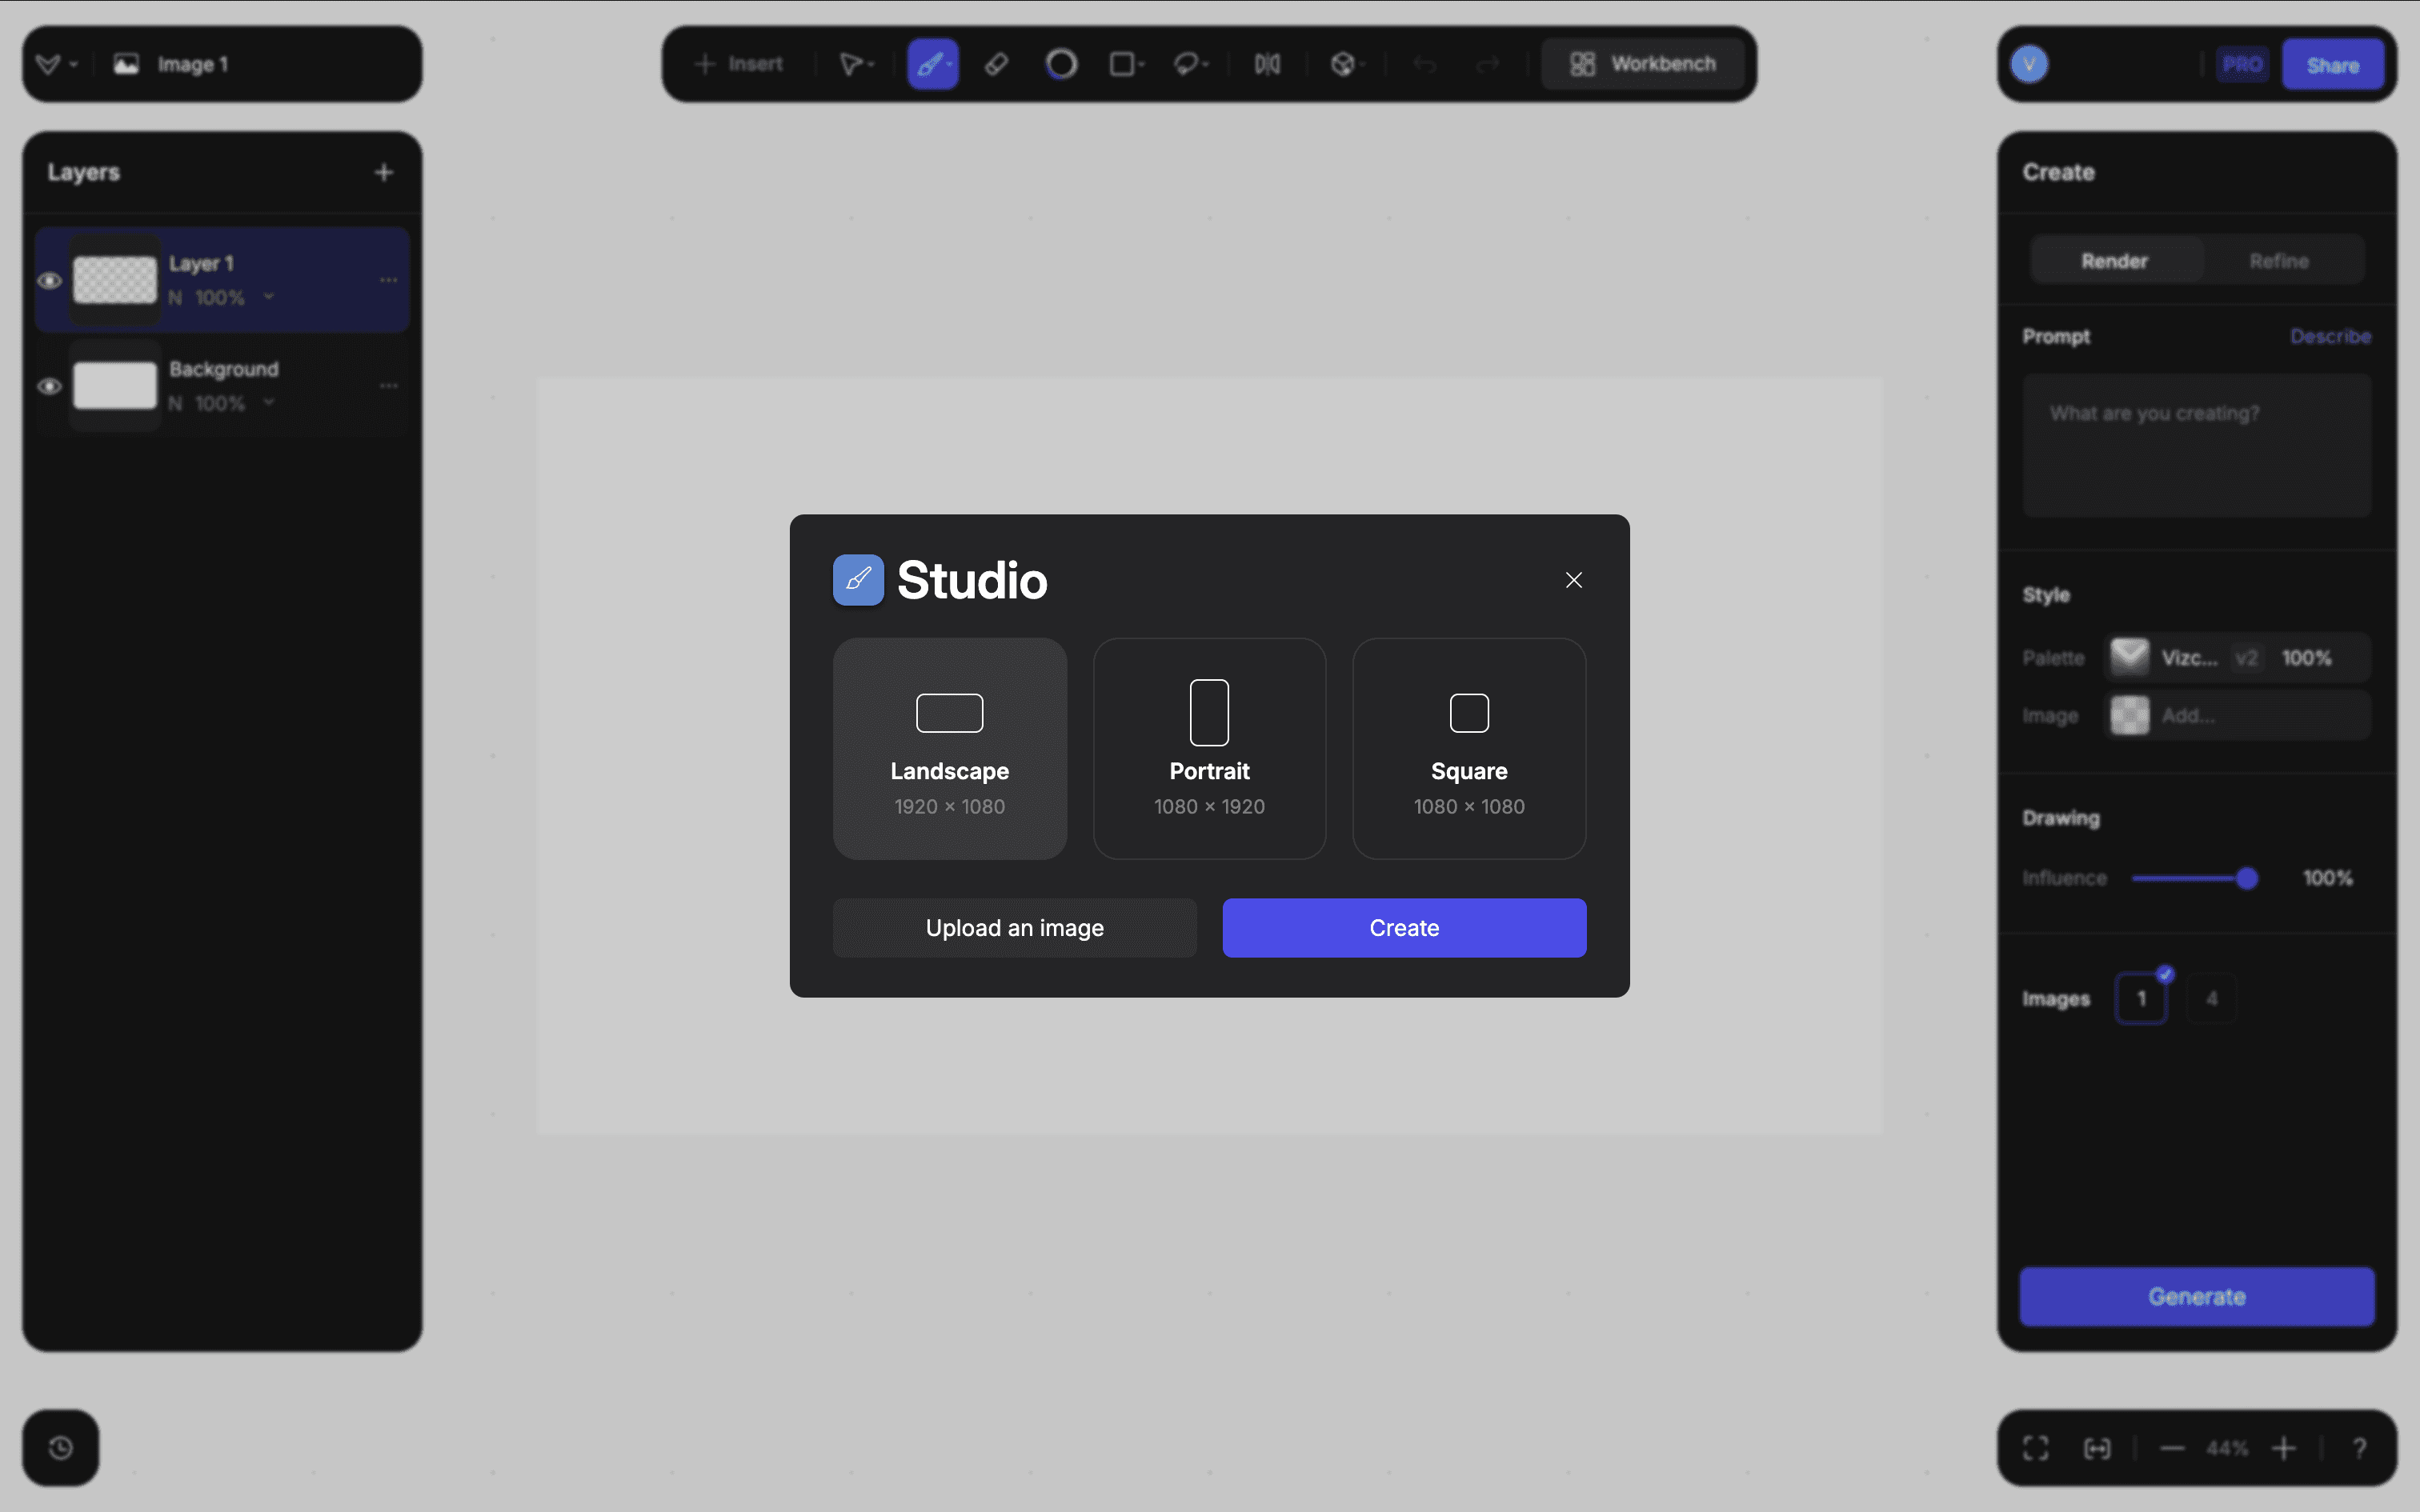
Step 2
Create the canvas and start sketching or Upload a previous sketch on the canvas!
You can learn more about how to import your sketches - here
You can learn about how to draw inside Vizcom - here
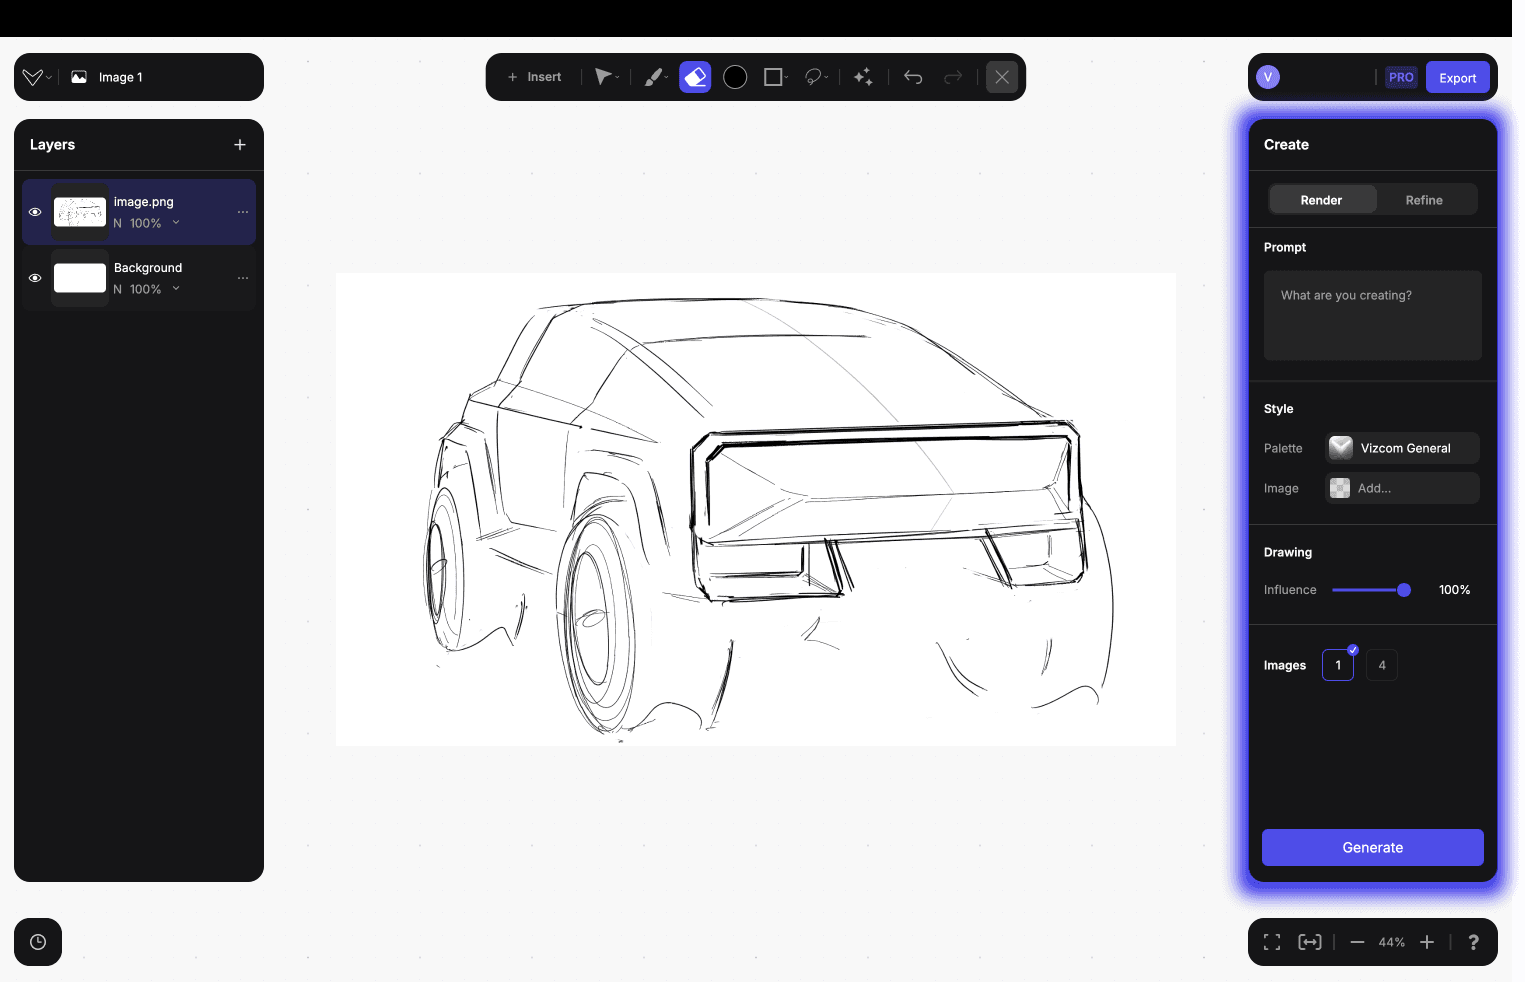
Step 3
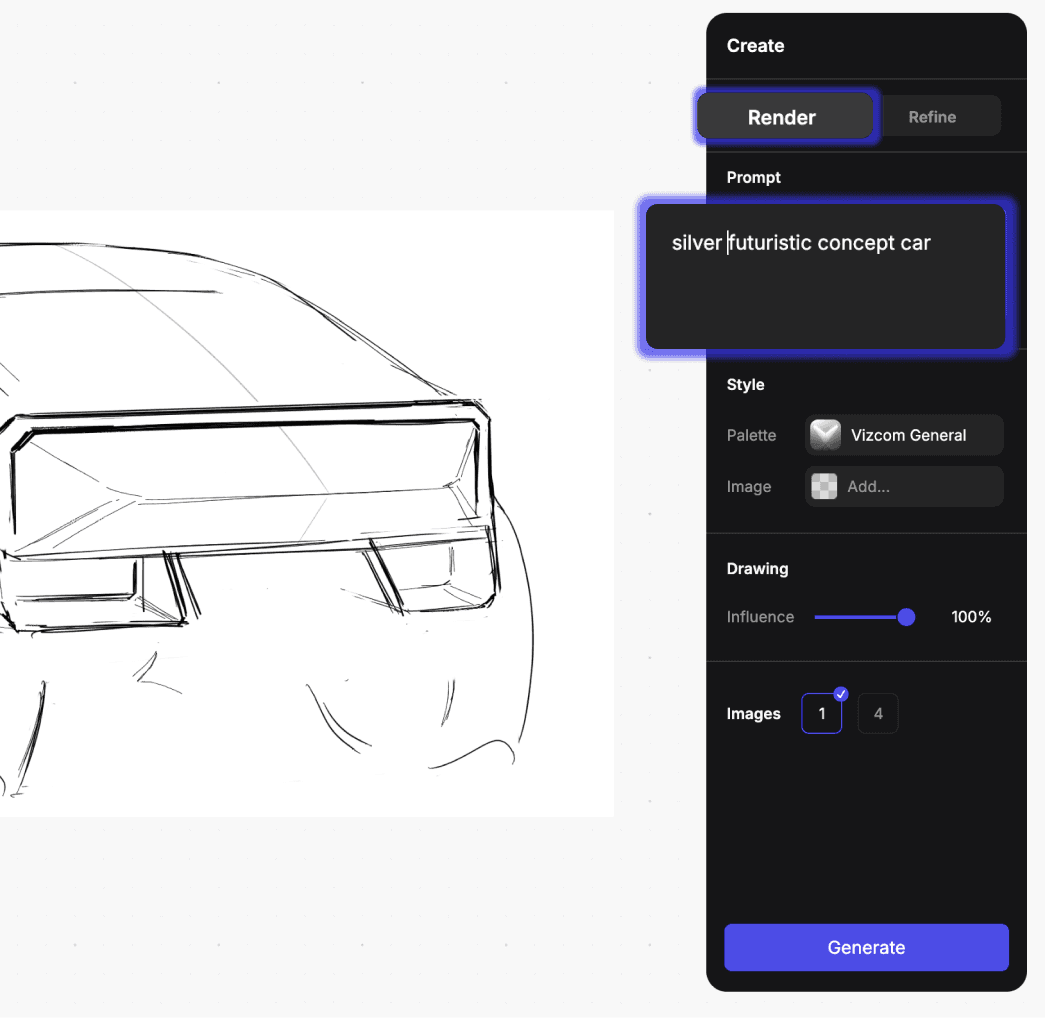
Write a simple text description (prompt)
Go to the right toolbar dropdown (Create tab) and make sure that you’re in Render mode. This is the standard mode of the application if you open a new file.
Anytime you have a line drawing or sketch that you plan on rendering with a prompt, you must first be in Render mode.
You can learn more about how to write prompts here
You can learn more about what kind of sketches would make the best results here
Step 4
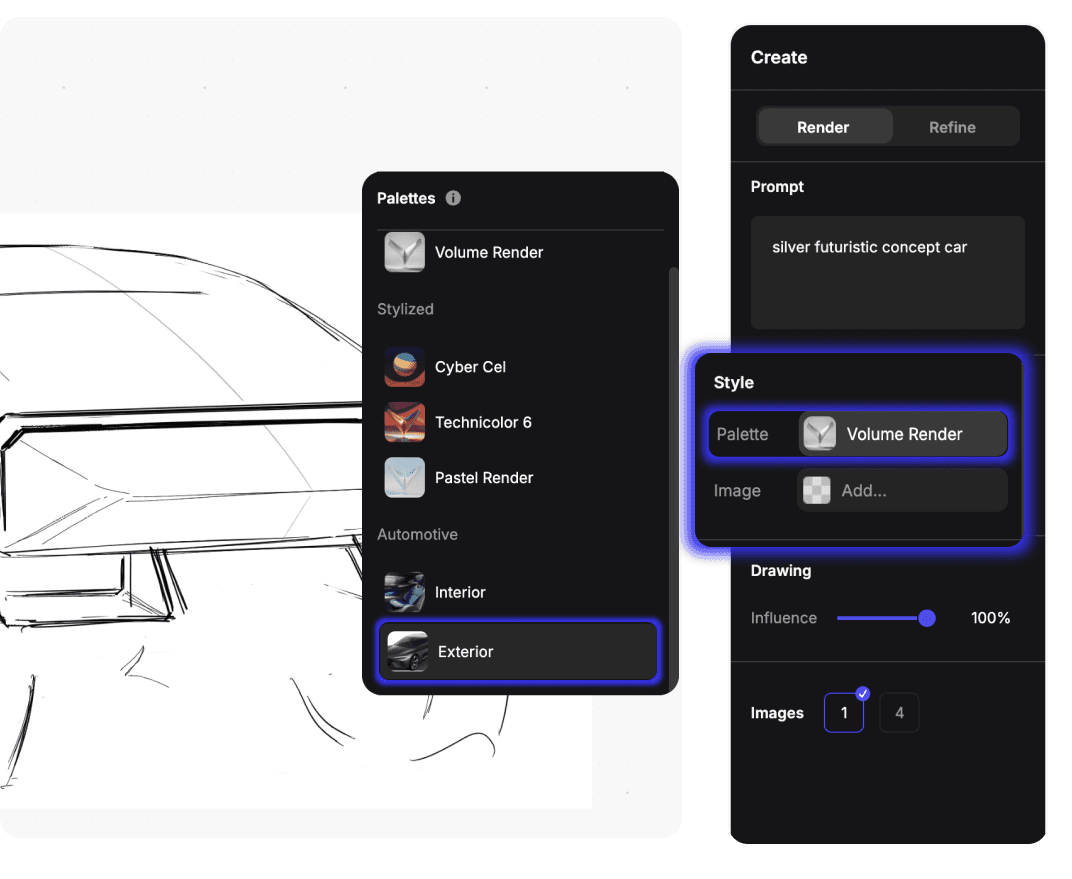
Set the Palette, under Style.
You can learn more about Palettes
This will the overall aesthetic of the generated rendering, like a render engine.
Step 5
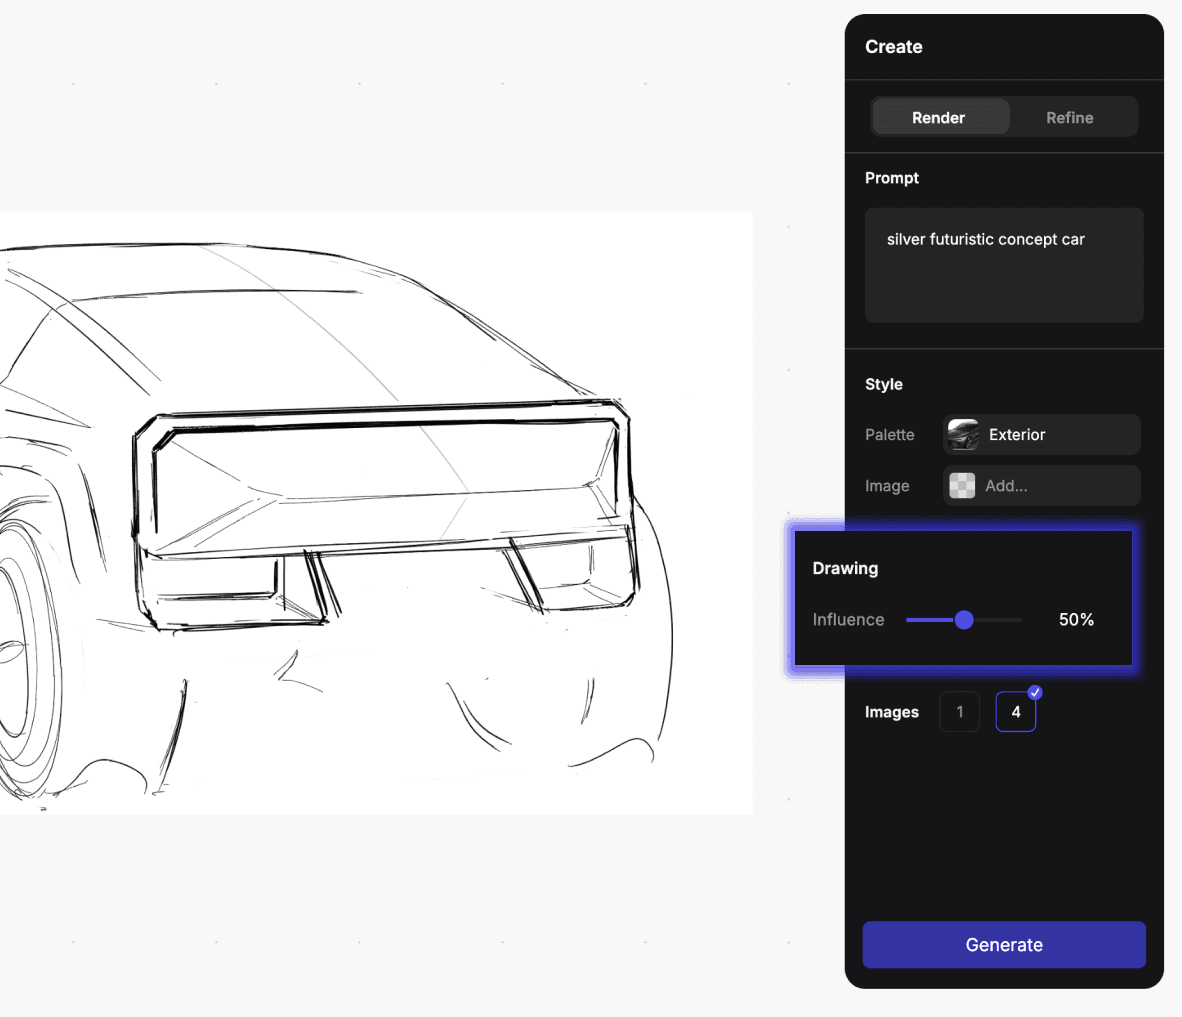
Set the Drawing influence slider
Learn more about what Drawing influence is for - here
Step 6
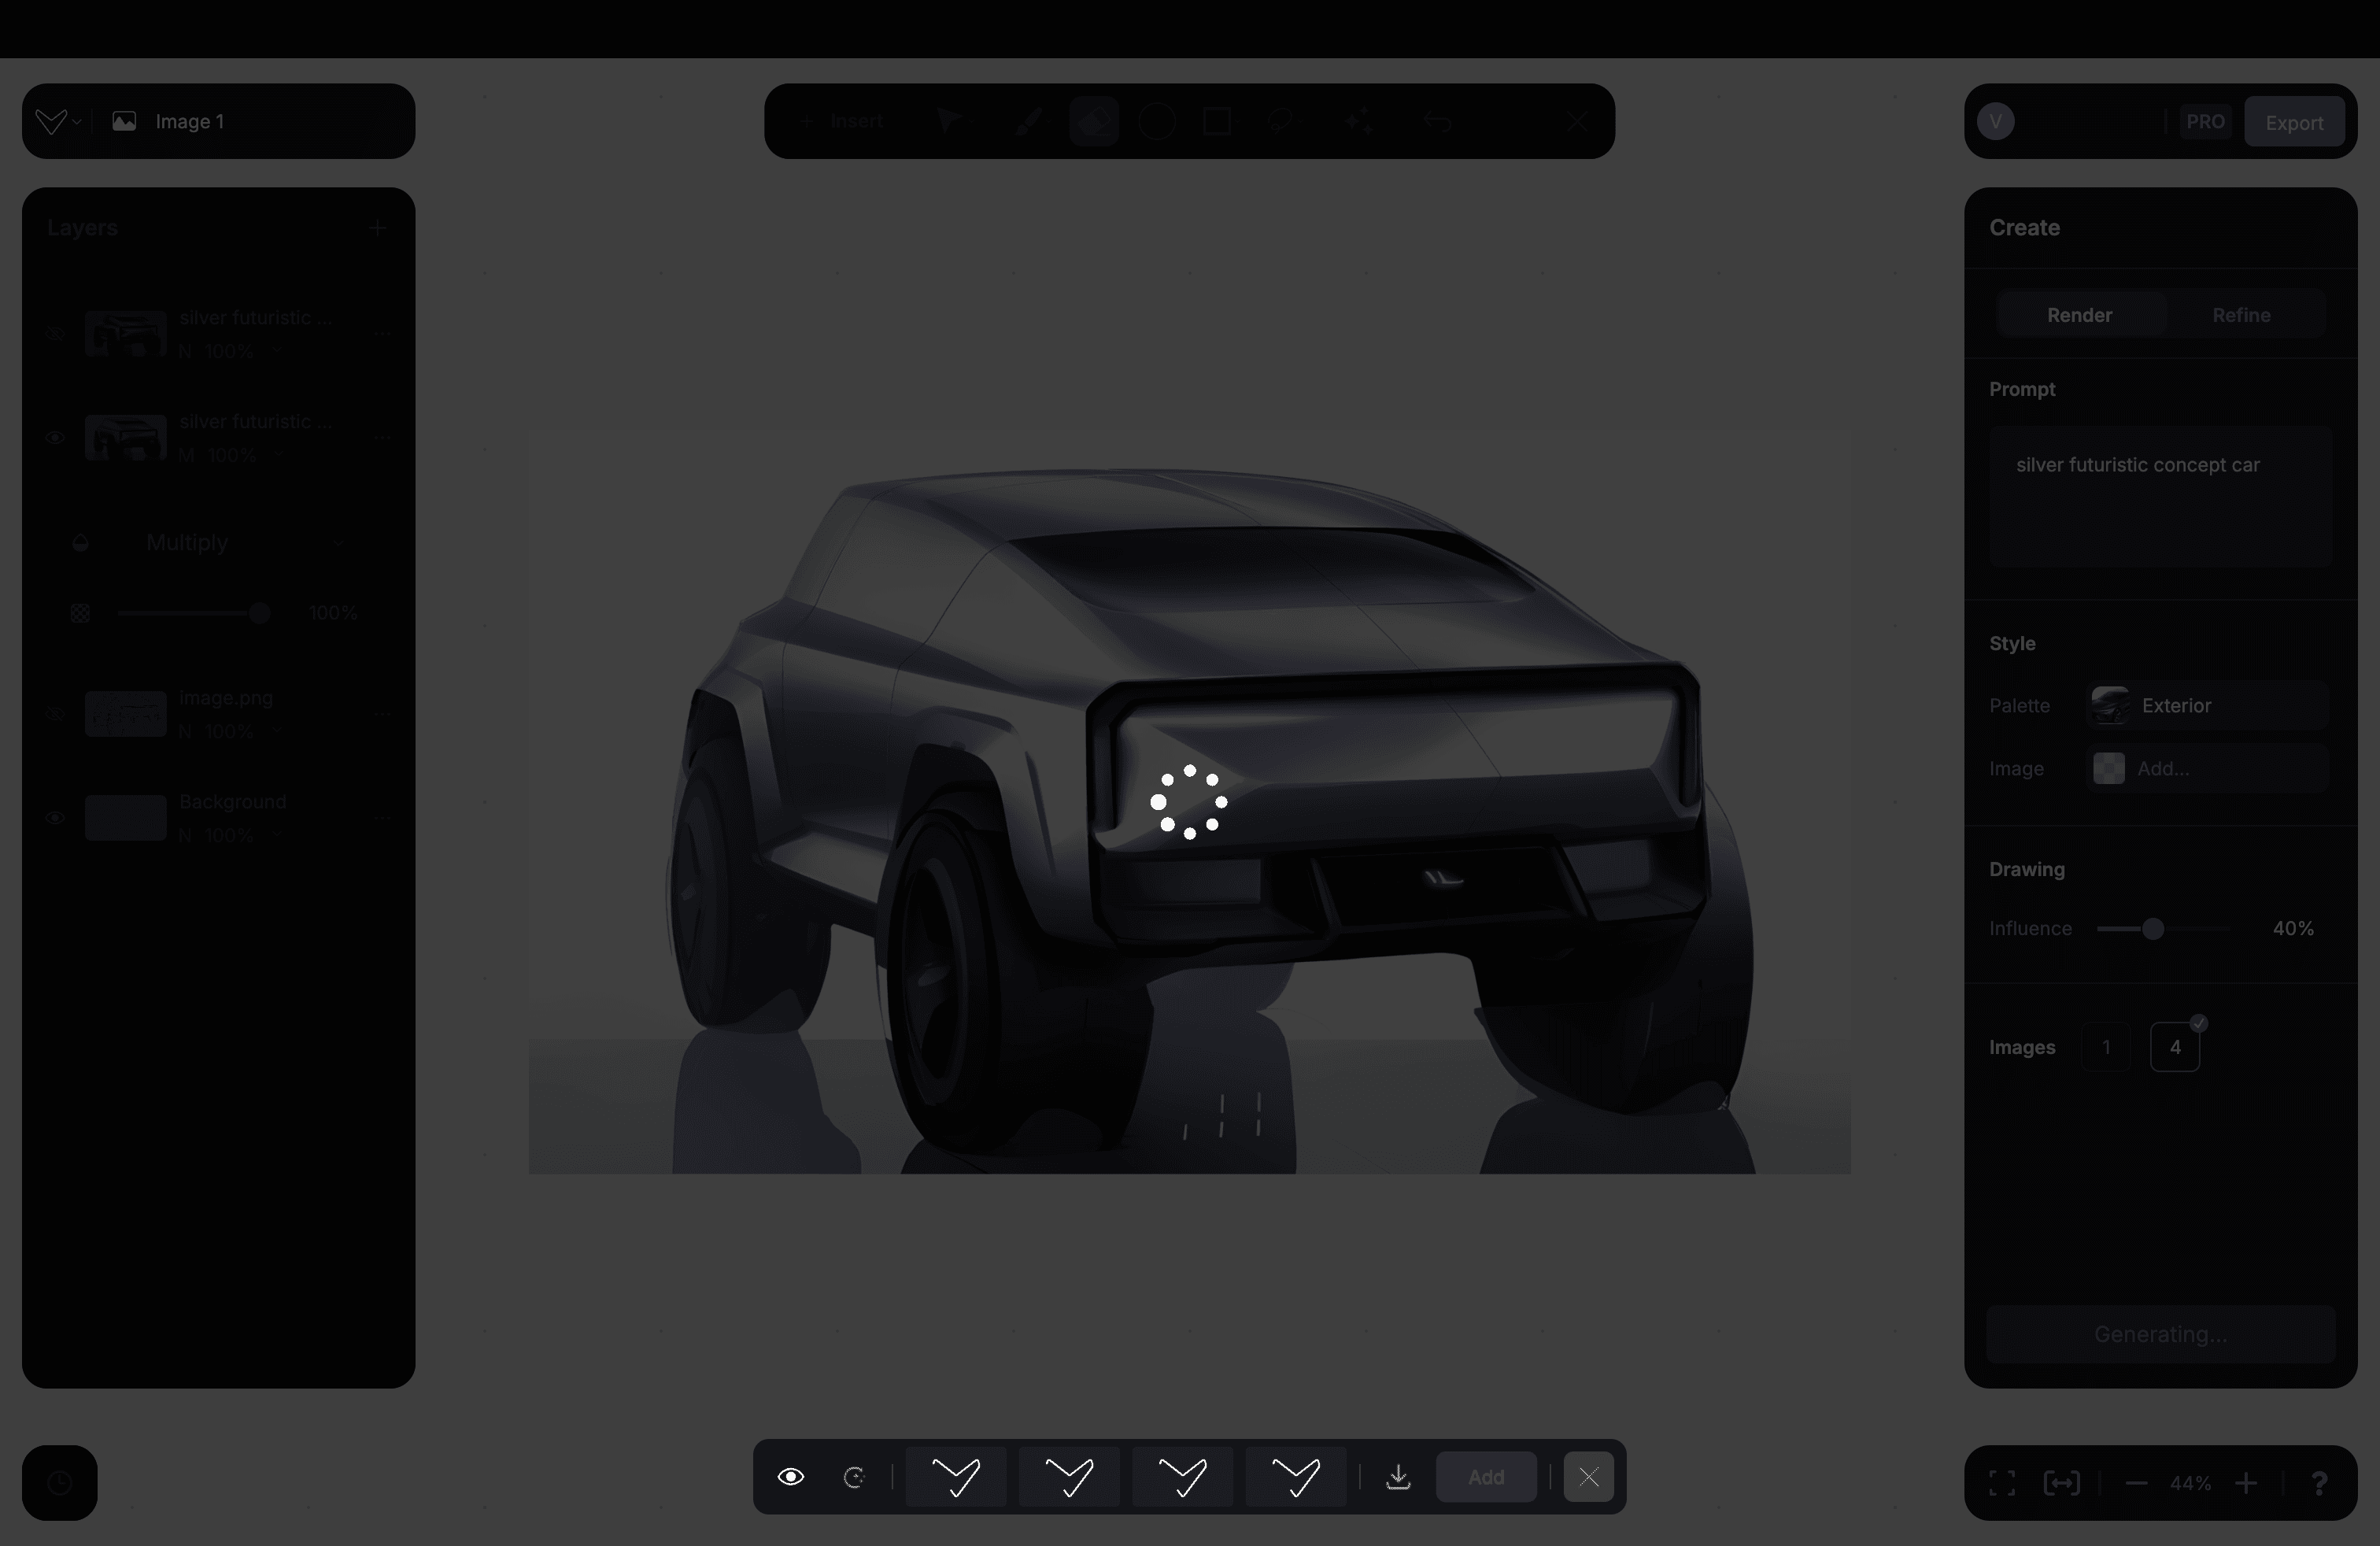
Generate the rendering
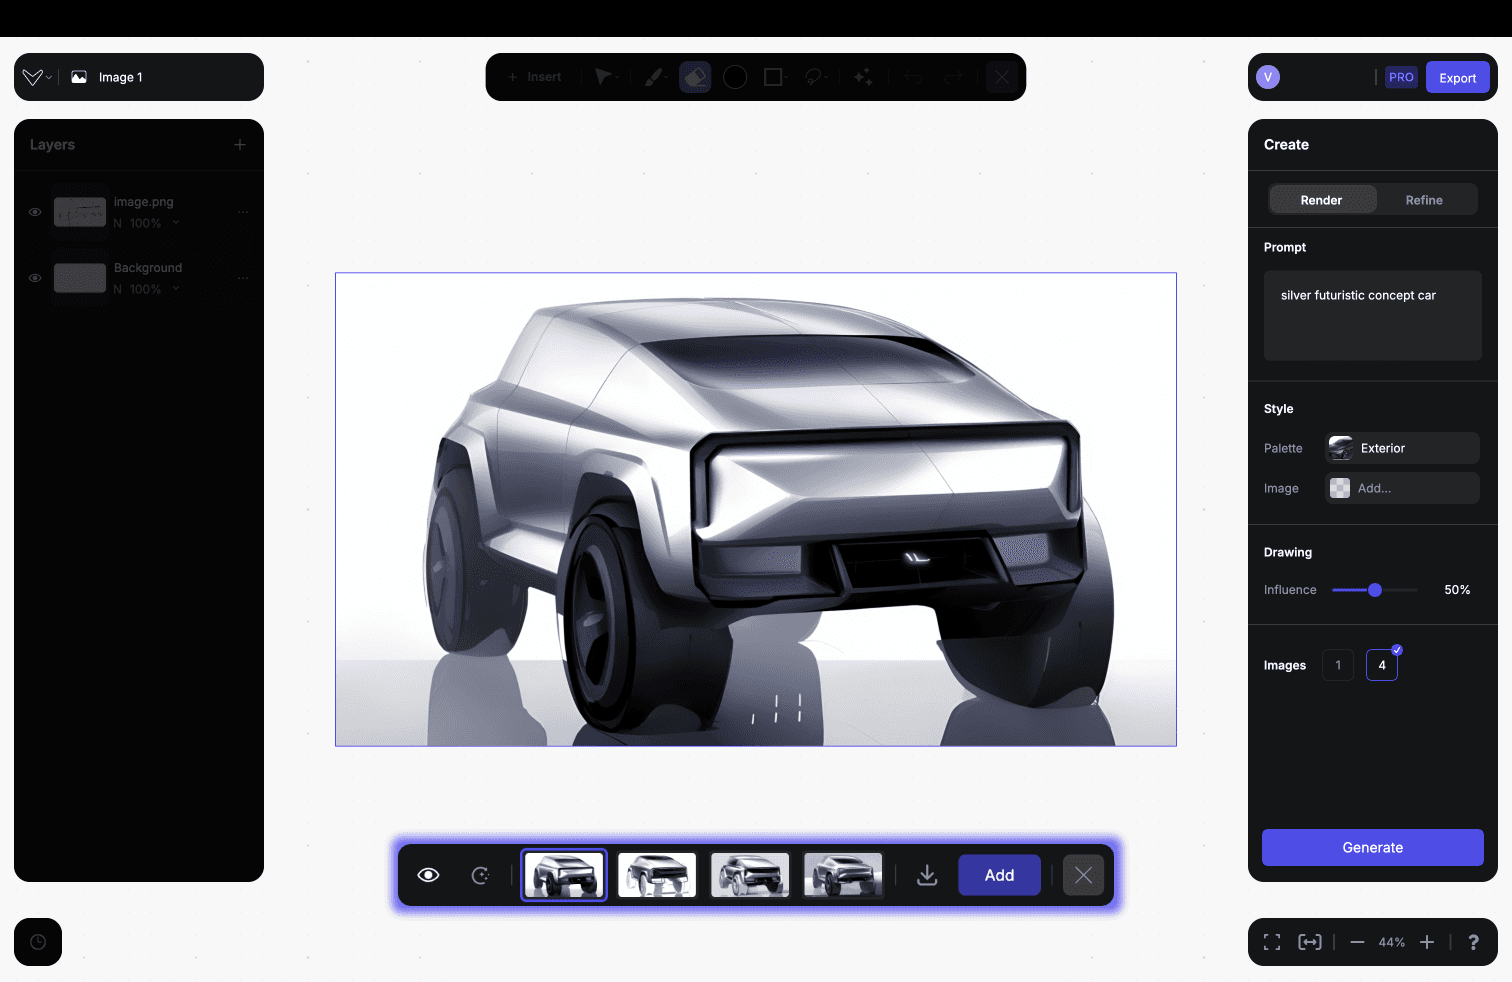
After setting the render up, click on the Generate button and wait a few seconds.
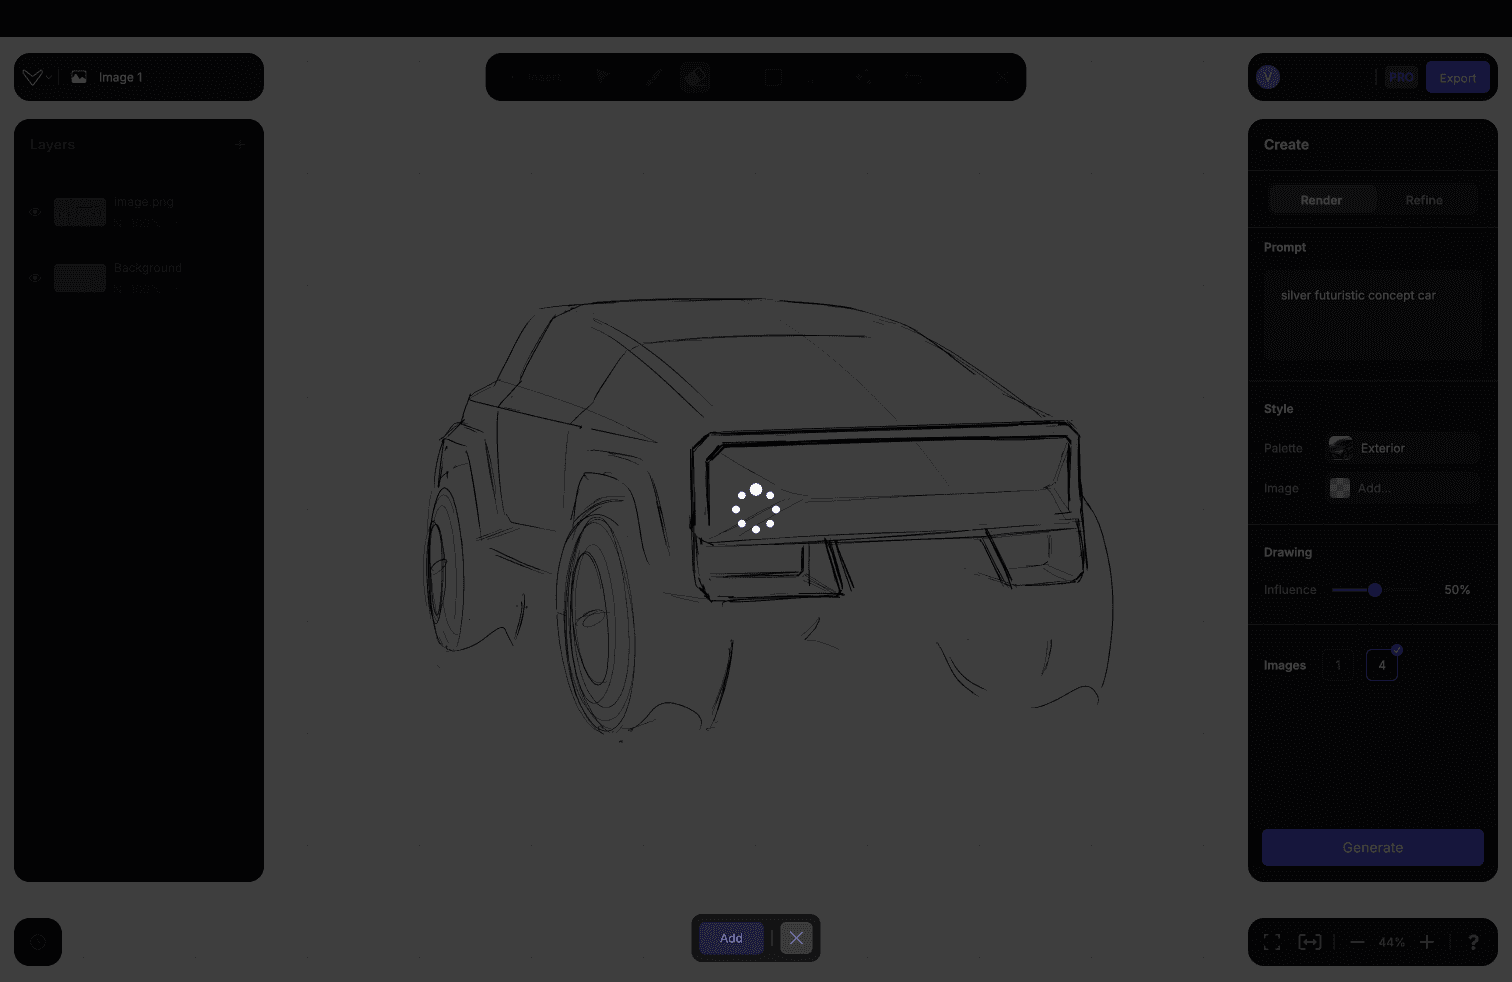
A full size preview appeared, with a selector tab.
Step 7
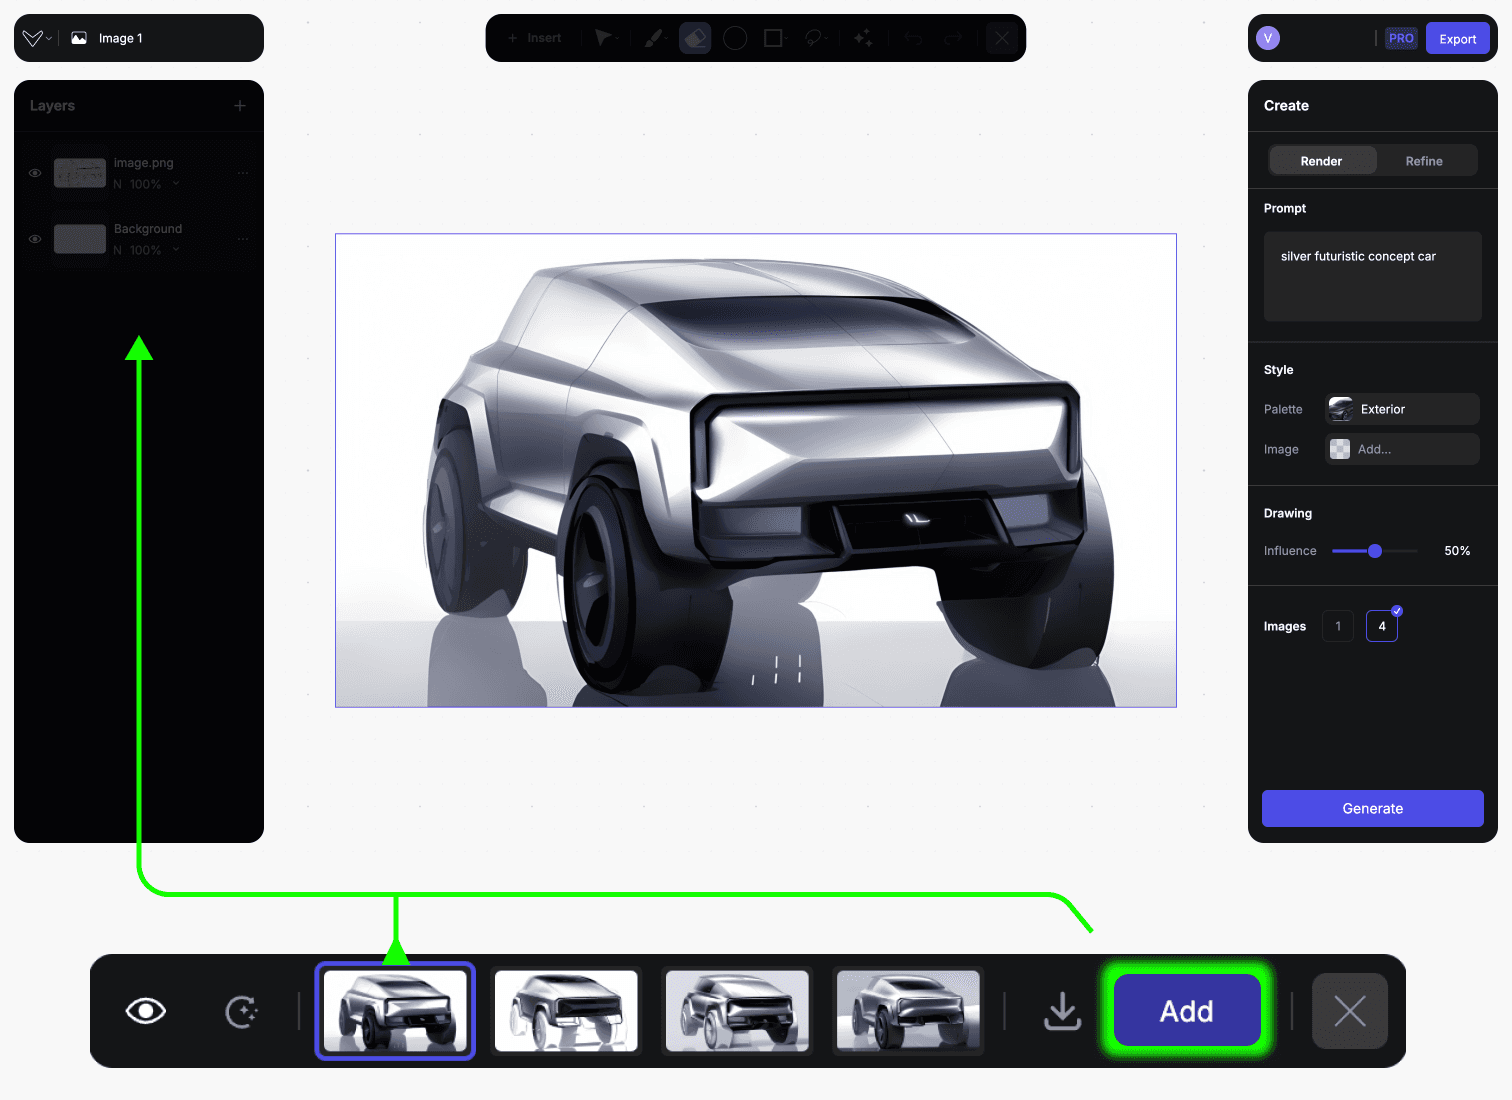
Select your favourite result and click "Add" to save it as a layer or click on the Regenerate button again, if you’re not satisfied yet.
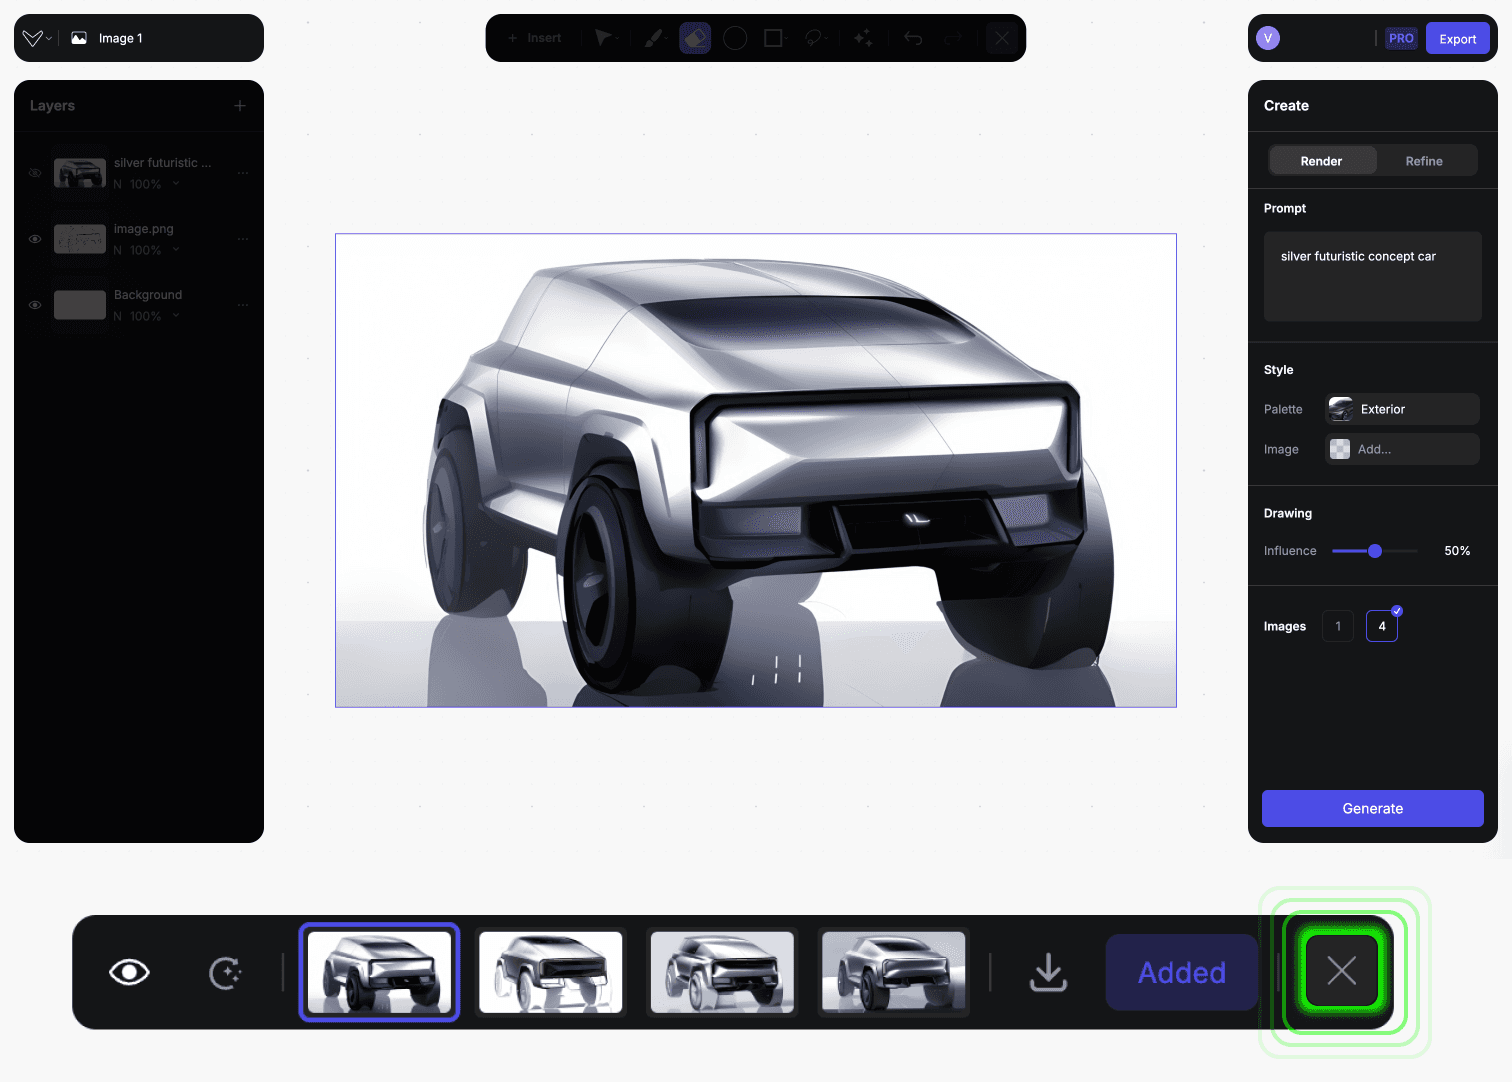
The results, which you’re not saving as layers, will not be lost, they’ll be part of the history tab, where you can restore results anytime, you can learn about that - here
Click on the "X" icon after you added the desired rendering
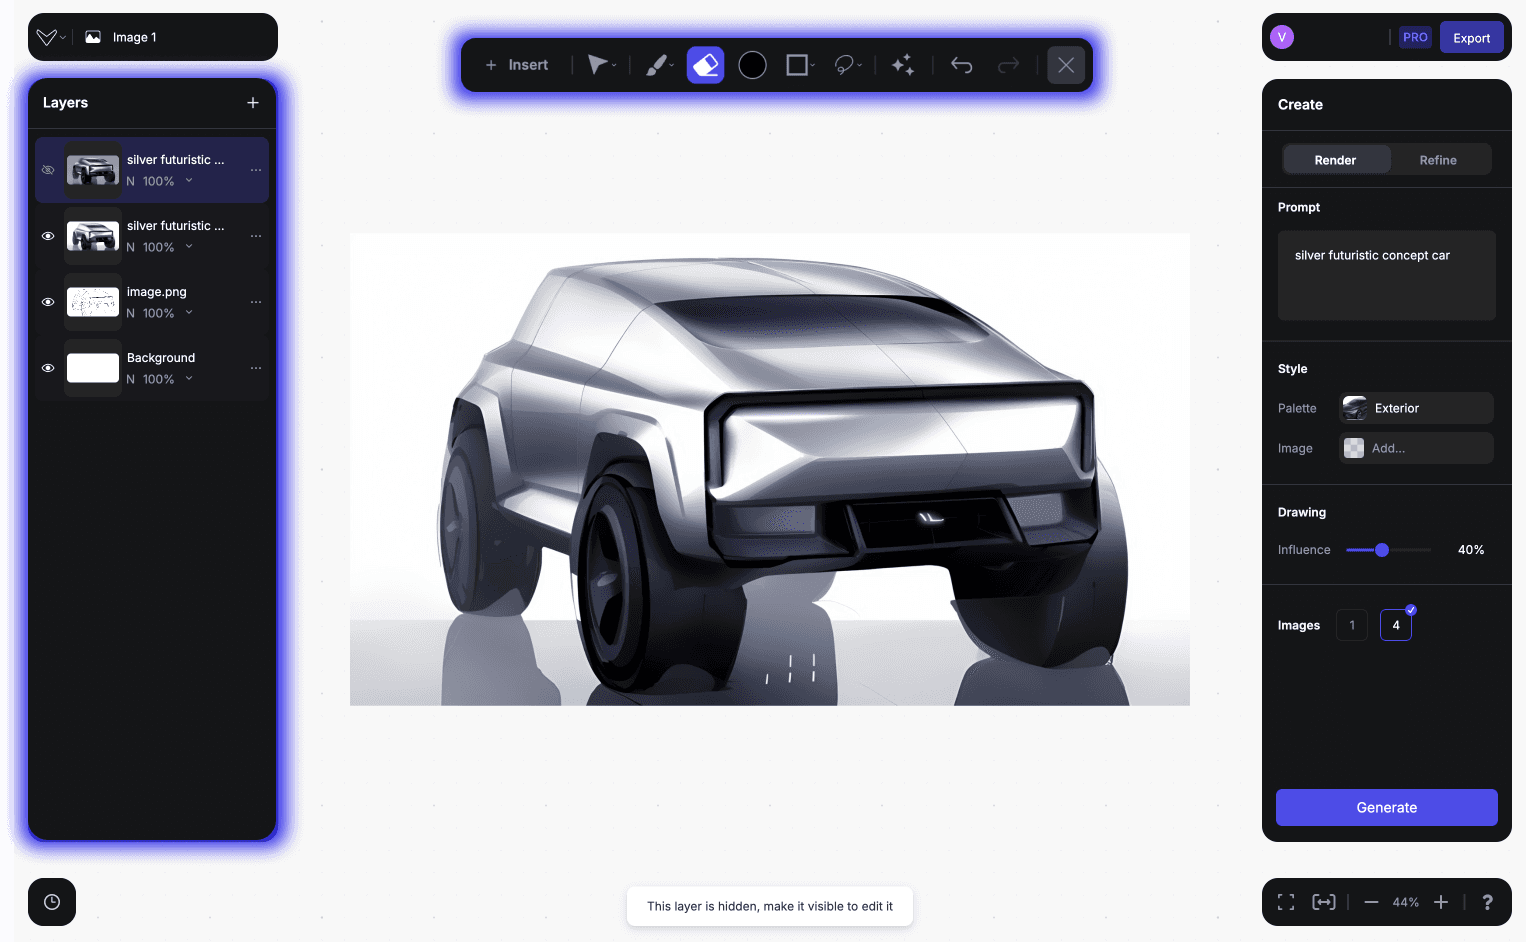
After closing the image preview tray. The Layers tab and the Drawing toolbar is active again and you can start using them.
Step 8
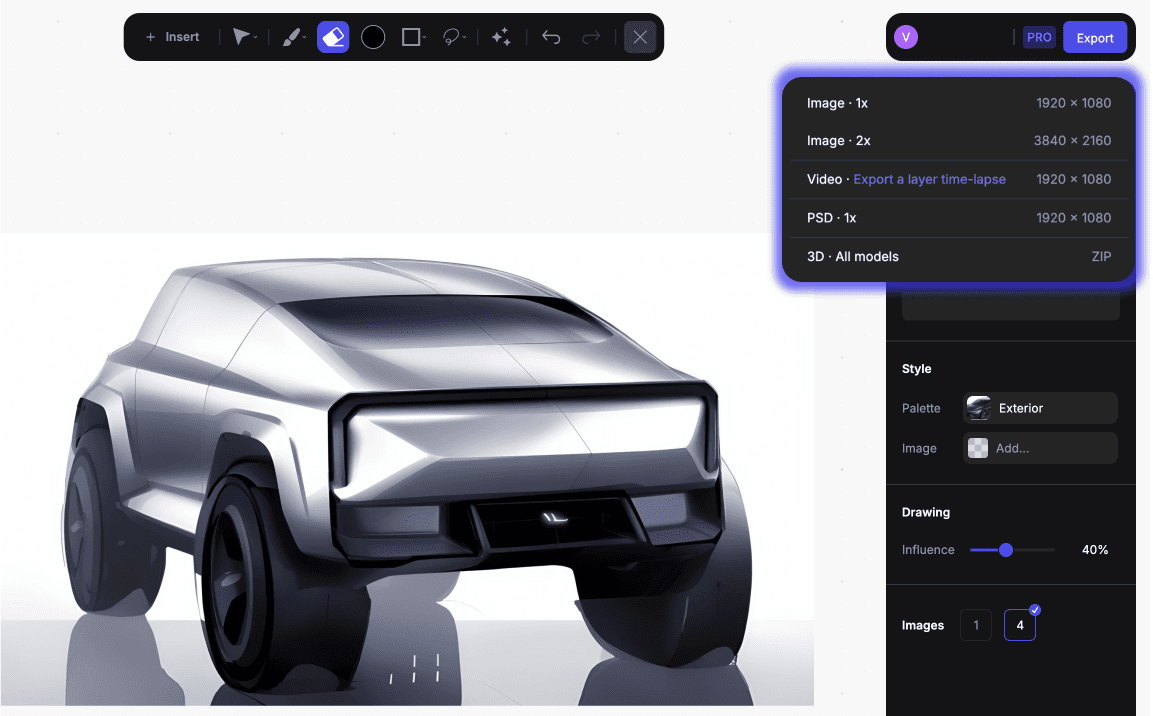
Export your best results! (top right corner)
You will export what's displayed on the canvas with the PNG options.
Creating renderings is an iterative process, feel free to generate as many as you want.
(Vizcom will generate according to what's displayed on the canvas - so If you want to keep generating on the original sketch, you can hide the previously added layers.
Here is how you can Refine on a rendering