Animation
Animating in Vizcom
Animating in Vizcom
Bring your designs to life with motion. Vizcom’s Animate Block allows you to turn sketches, renders, and generated model outputs into dynamic videos using camera presets, start/end frames, and natural prompts.
Animation helps you explore form, communicate more clearly, and present ideas with depth, mood, and movement.
Getting Started:
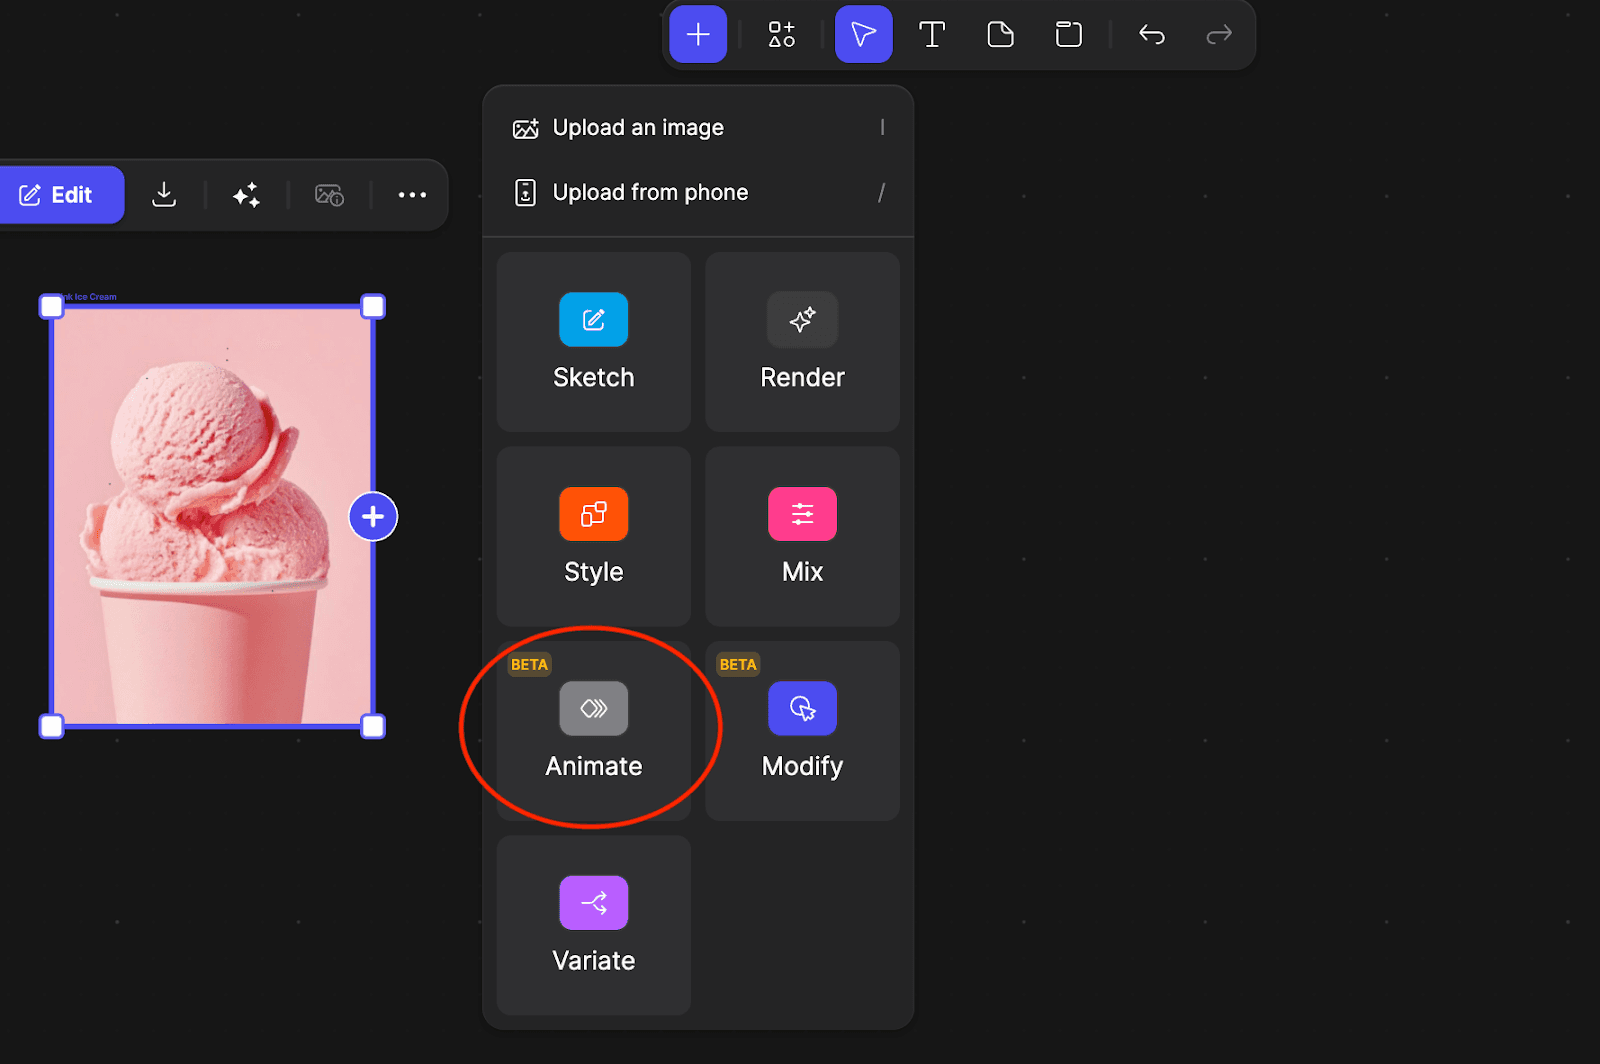
Accessing the Animate Block
You can access the animate block from two places:
Insert Menu
Open your Workbench
Click the + in the top toolbar
Select Animate
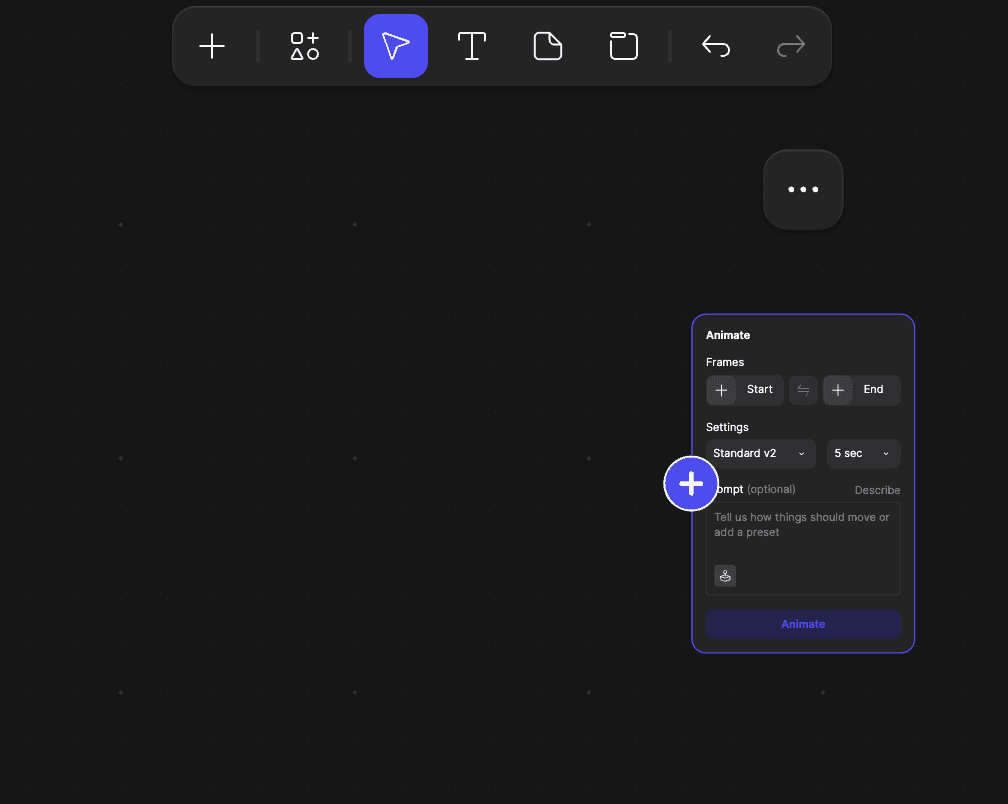
This creates a group setting containing:
A place for you to connect your animate block to your desired image
The Animate Block
Quick AI Action
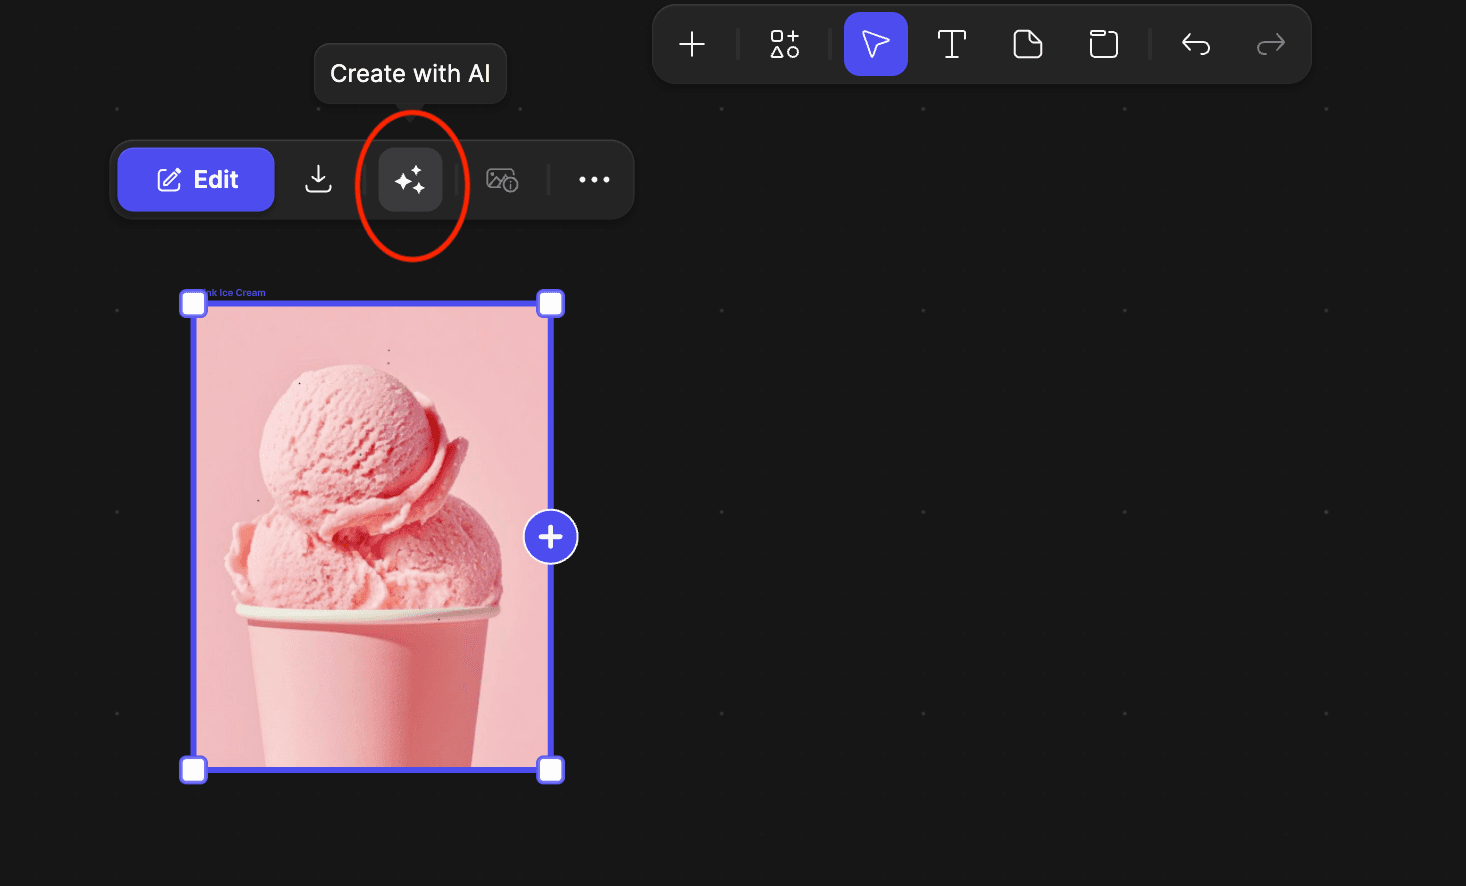
Select an existing image in your Workbench
Open the Quick AI menu
Choose Animate to instantly link your image to a new Animate Block
Pathfinder
Select an existing image in your Workbench
Click “+” icon on the right side of image and drag out the pathfinder
Choose Animate to instantly link your image to a new Animate Block
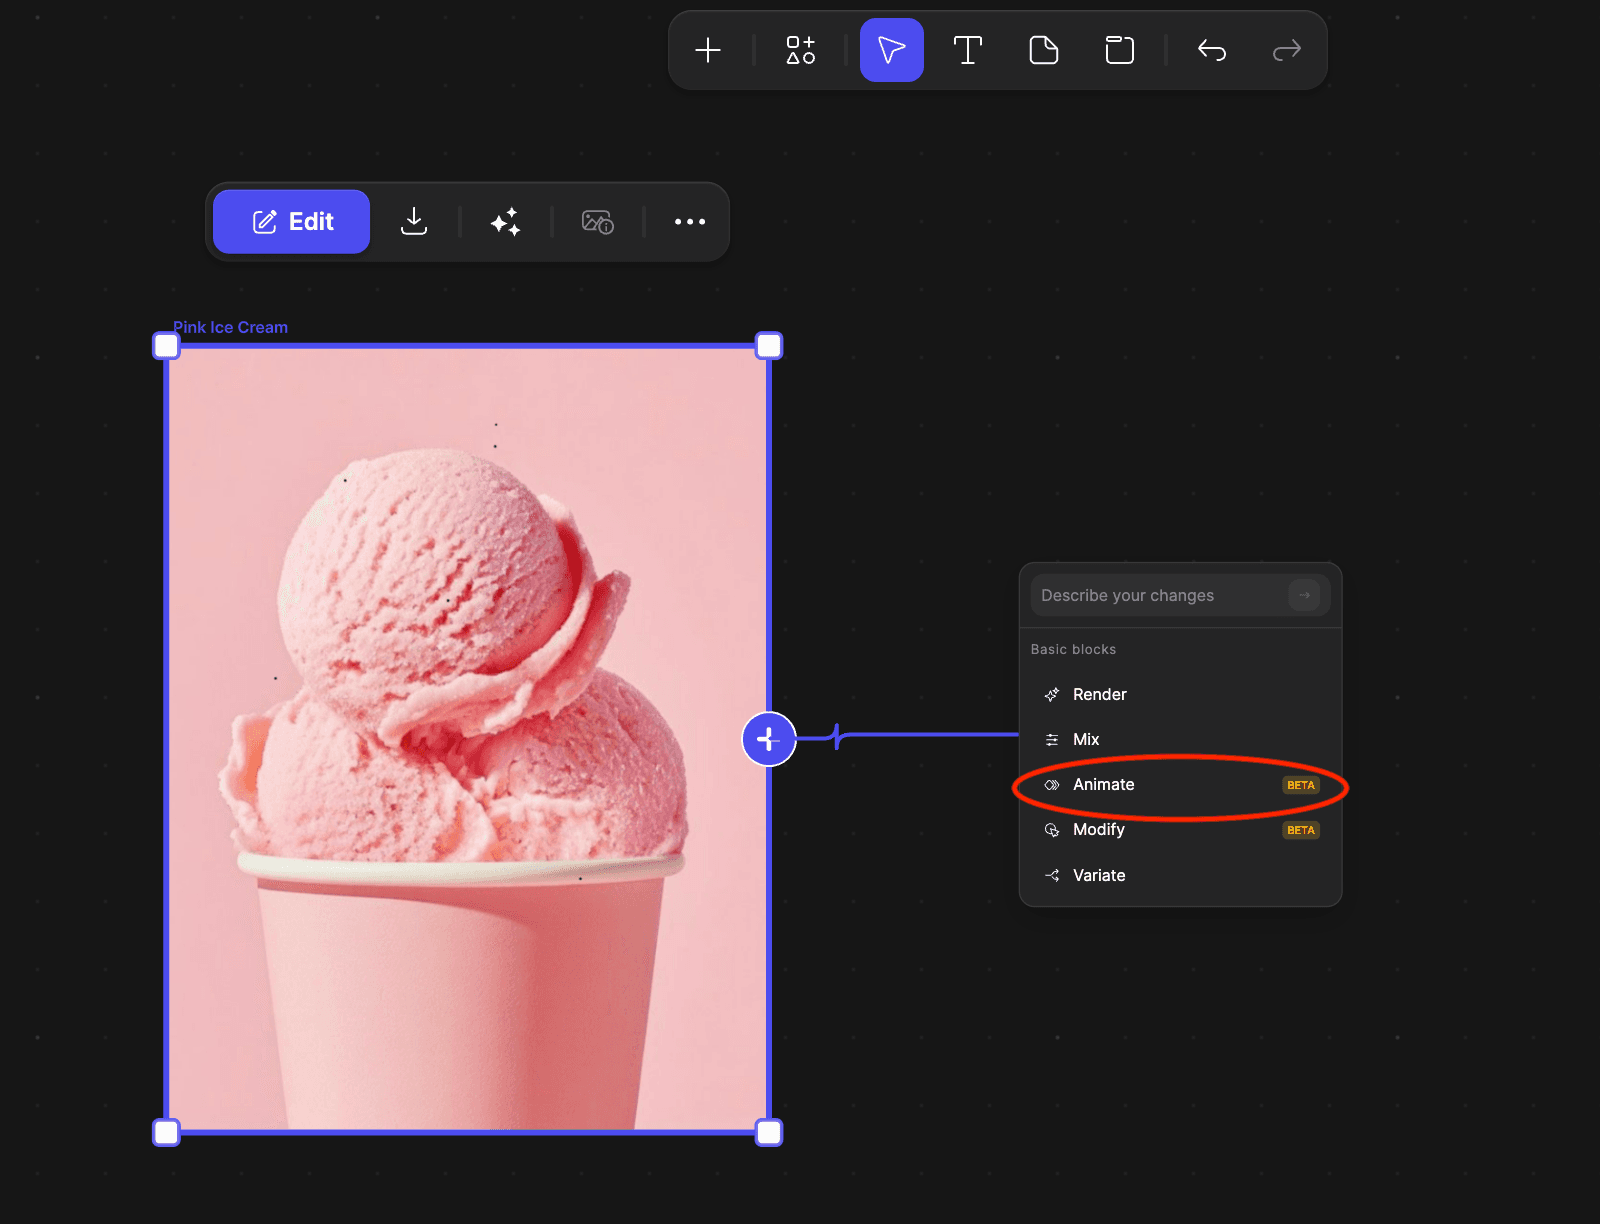
Block Overview
The Animate Block adapts based on what you connect. Here are the core block states:
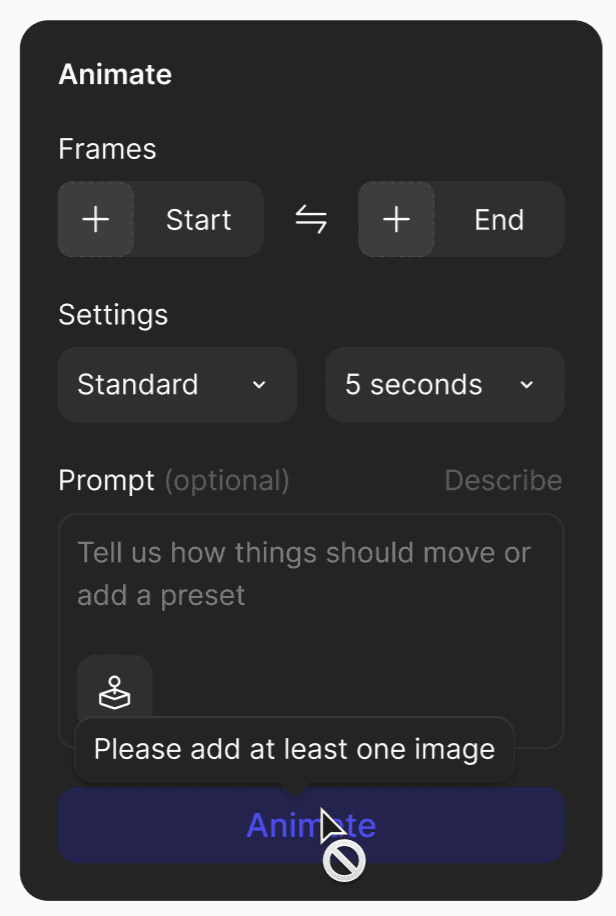
No Frames Attached
The block prompts you to attach a Start or End frame
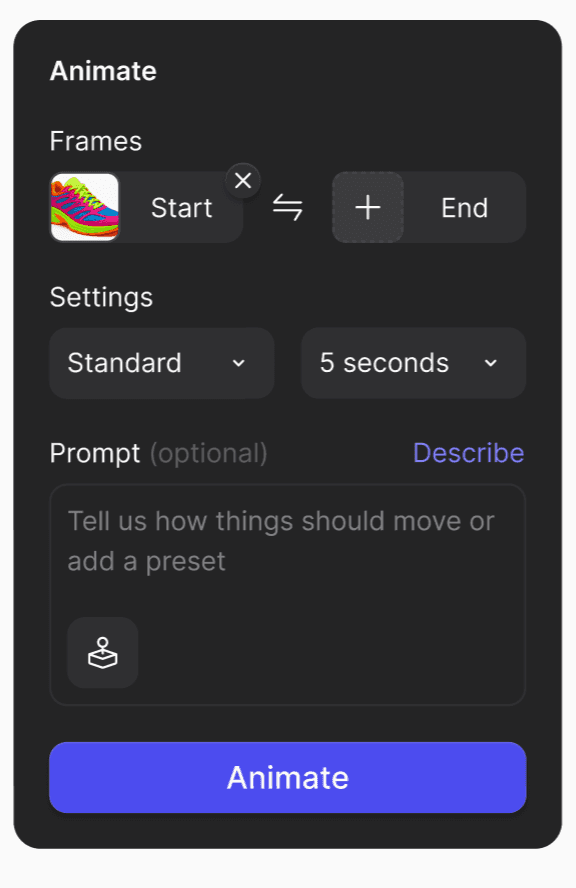
One Frame Attached
Animate a single frame using prompts or camera presets.
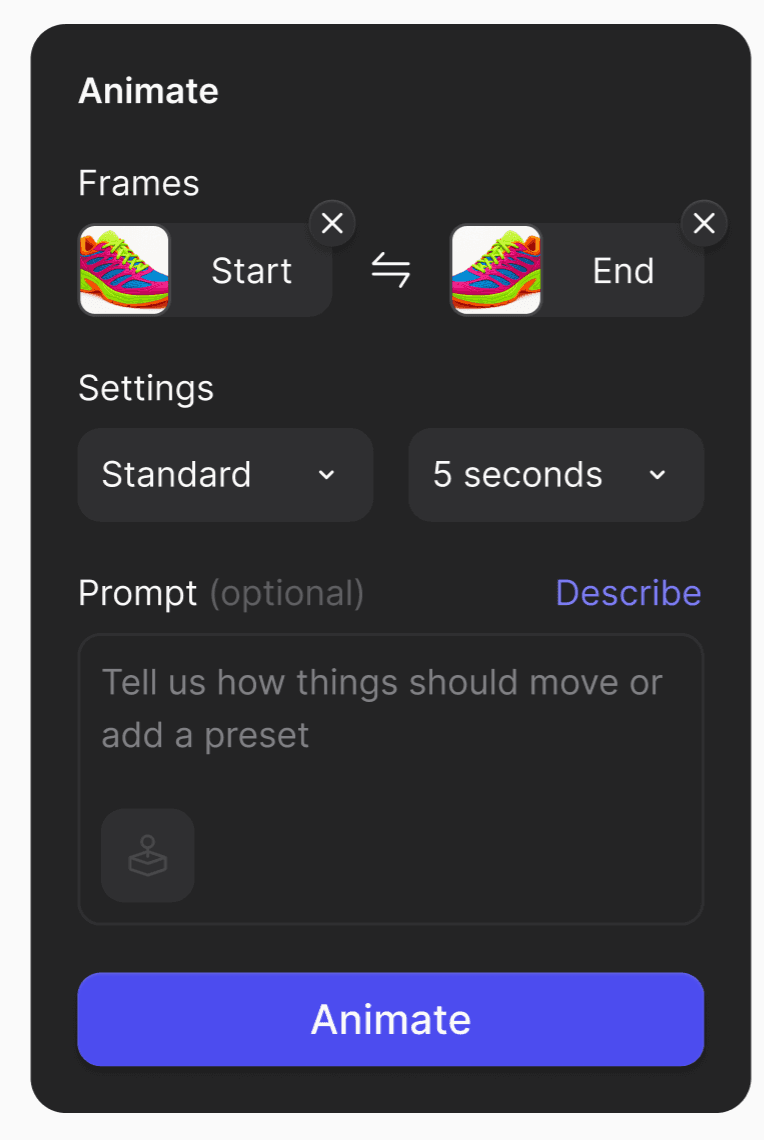
Two Frames Attached
Animate transitions between a Start Frame -> End Frame.
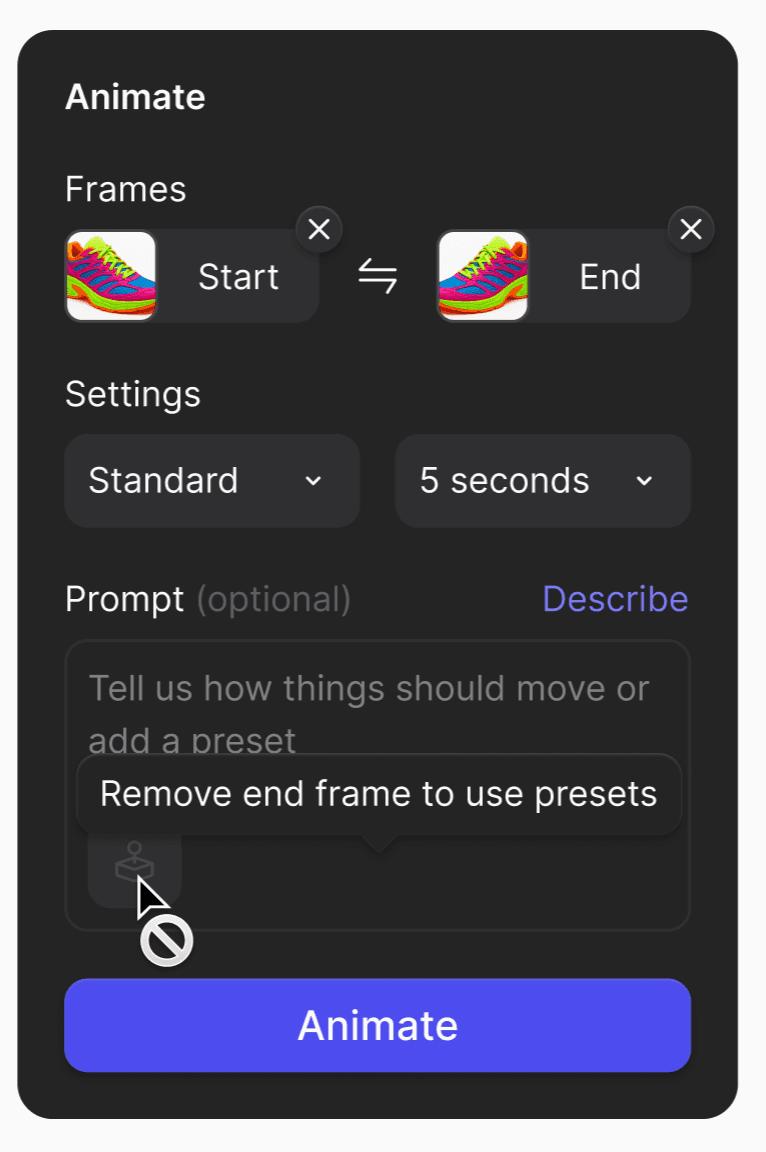
NOTE: To use presets, you must remove the end frame
When the end frame has been removed - camera presets, transition presets and prompt options are expanded automatically.

Preset Behavior
To apply a preset:
Open the preset dropdown
Apply a preset
Preview the preset
Optional - add a custom prompt along with the preset
NOTE: Presets only work with the Standard models

Turbo and Standard Mode States
Switching between animation models updates:
Camera presets
Prompt behavior
Duration limits
Available features
Vizcom offers two modes: Turbo (for paid users only) and Standard.
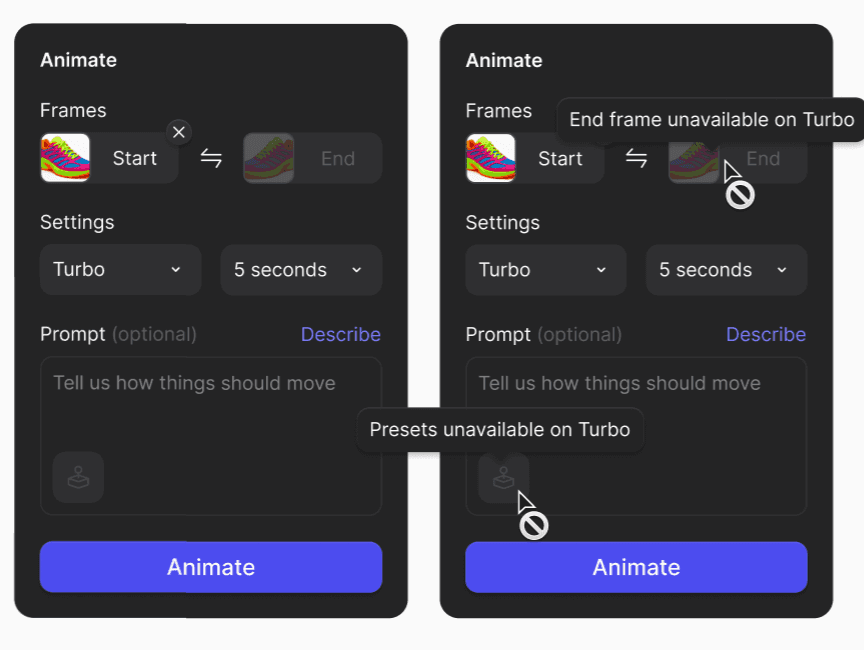
Turbo - Simple motion for faster exploration, end frame and presets are disabled.
Standard - Stronger prompt adherence. Broad selection of presets and a start frame is required.
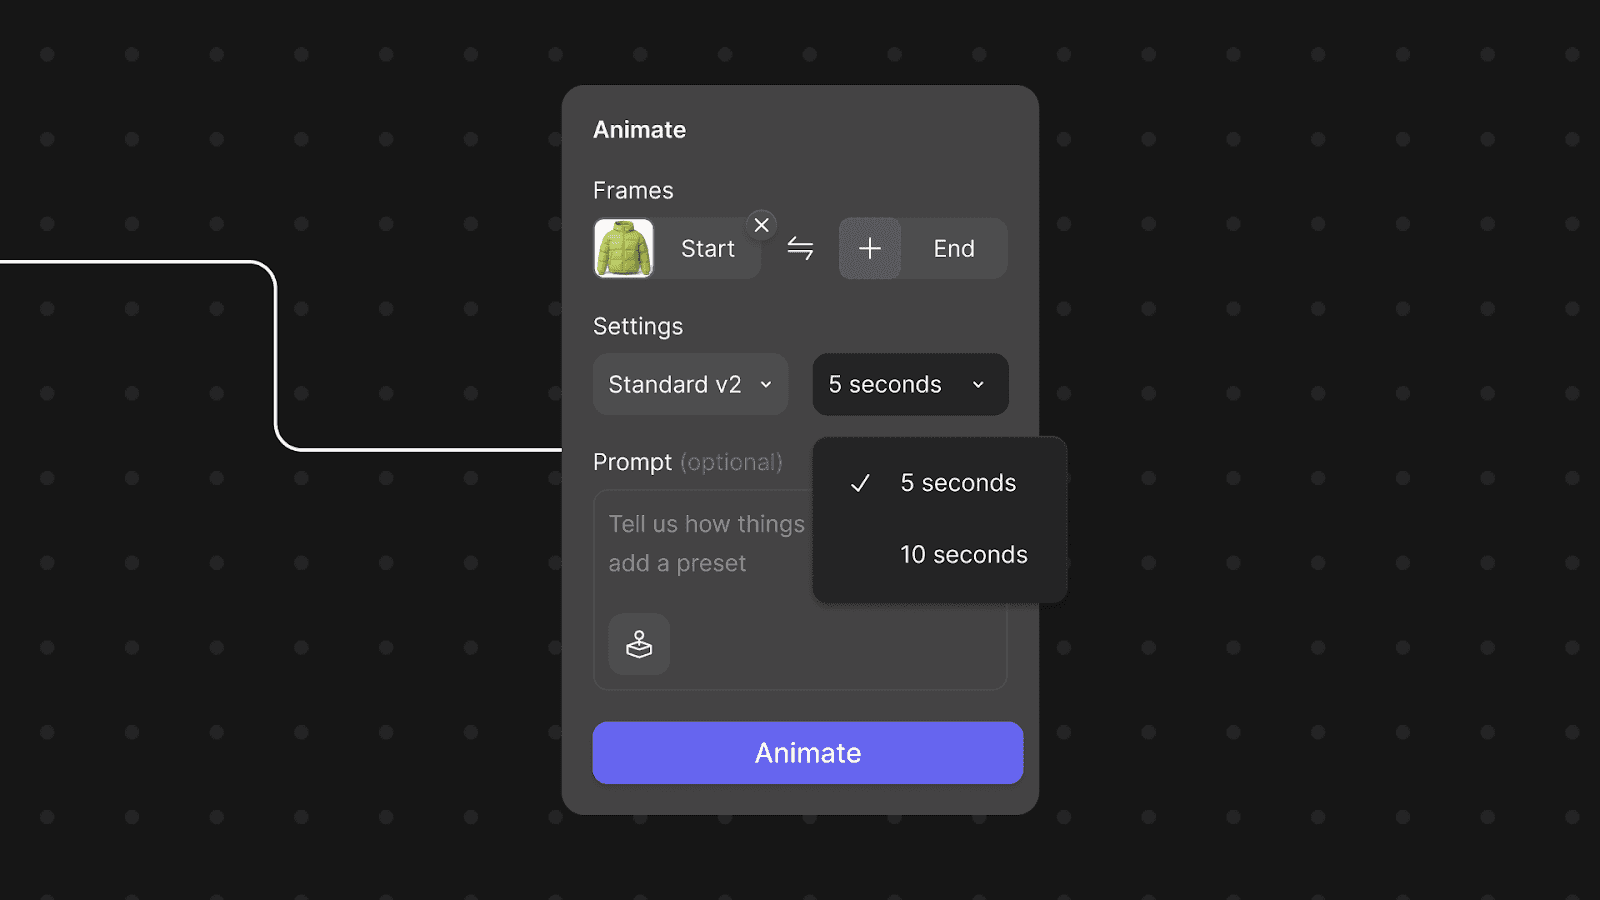
How to Animate
1. Attach your frames
You can animate using:
Only a Start Frame
Both Start and End frames
To attach, drag the connector node from the frame to the Animate Block.
2. Choose a Camera Preset
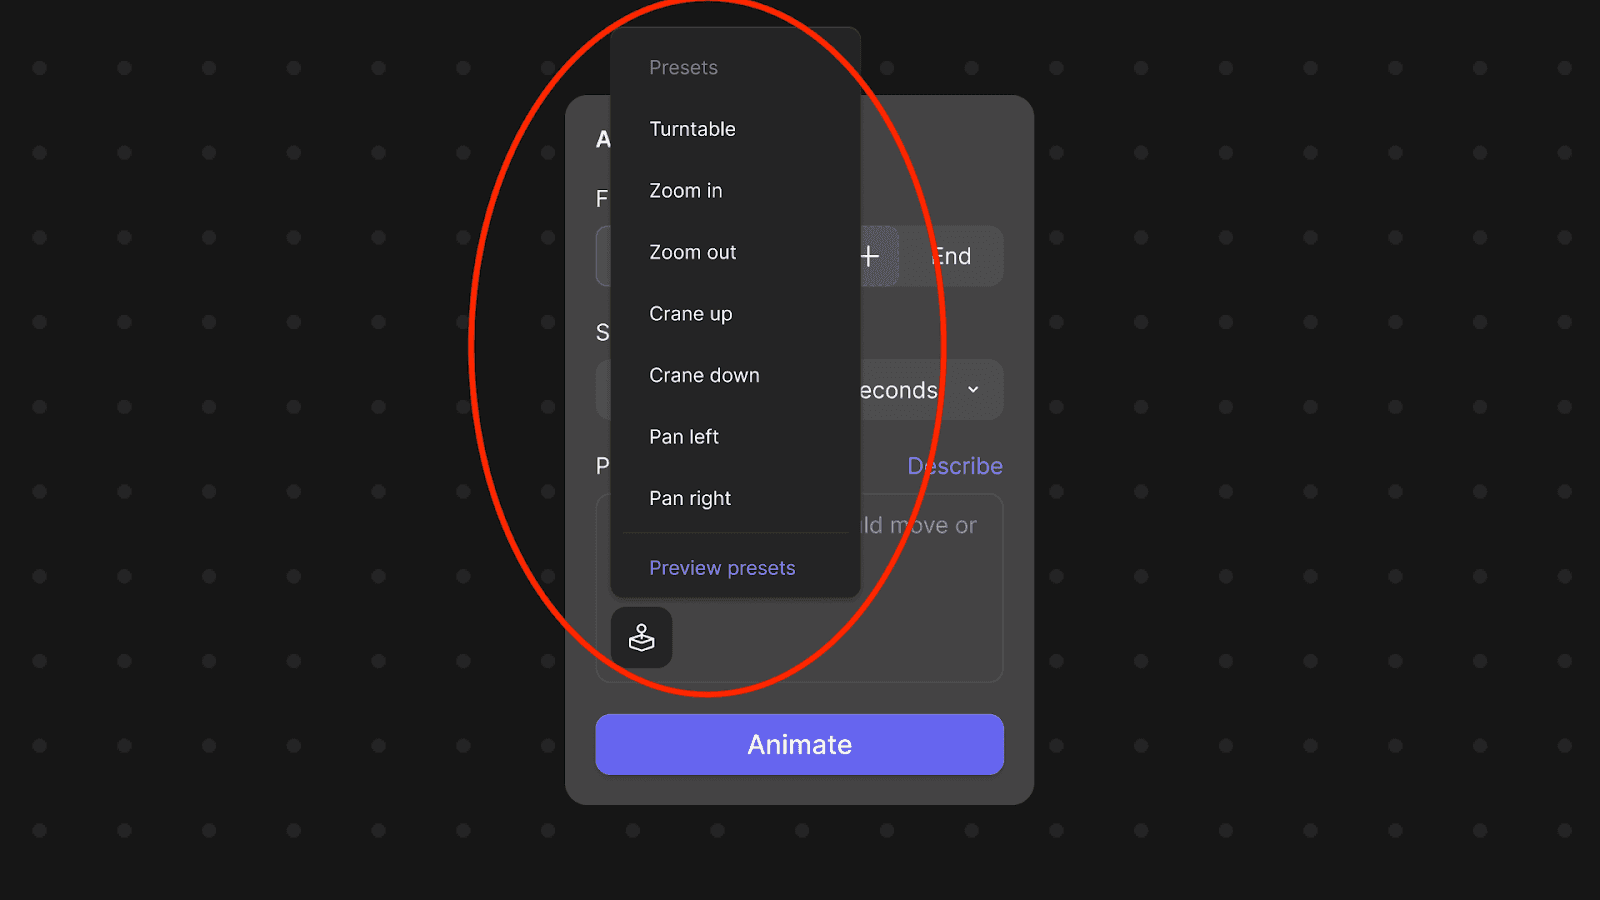
Vizcom includes built-in motion presets for smooth camera movement:
Camera Presets include:
Turntable - 360 rotation
Zoom - Push in / out
Pan - Horizontal movement
Tilt - Vertical camera movement
Presets can be previewed directly inside the block.
3. Add a Custom Prompt
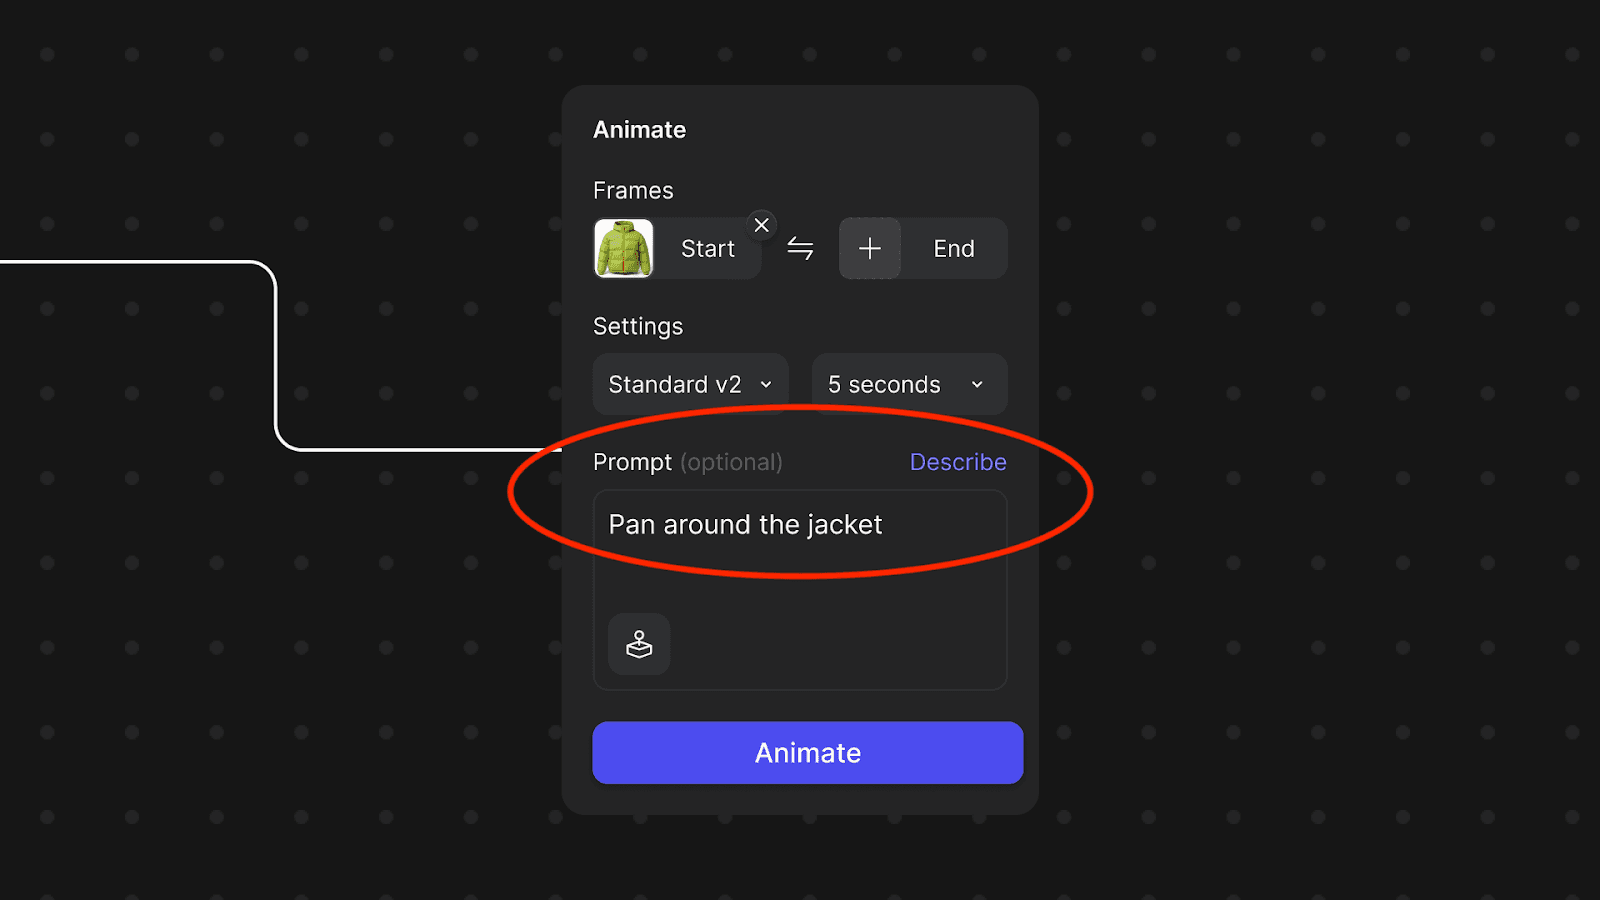
Prompts help guide movement, lighting, or environment. They can also be used with presets or start & end frames to add more detail.
Examples:
"Camera tracking shot of a woman skiing down a steep slope"
"SUV driving along the coast"
"Man picks up the kettle and pours water into his glass"
You can describe:
Type of motion
Lighting changes
Environment shifts
Mood or cinematic tone
4. Select your Animation Type & Choose Duration
Standard
Higher prompt adherence
More cohesive, clean motion
Longer generation time (~5 minutes)
Turbo
Faster output (~ 1 minute) )
Great for quick exploration
More expressive motion
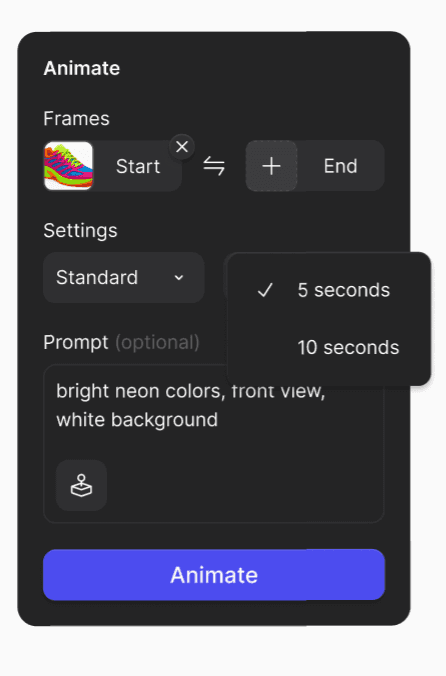
Choose Duration
Vizcom now supports longer clips:
5 seconds (default)
8 seconds ➡️ only available when using Turbo models
10 seconds ➡️ Pro & Enterprise accounts only
Plan Behavior
Free users see a ⚡icon next to restricted durations
Selecting restricted options opens the upgrade modal
Model Constraints
Some animation models limit maximum length (e.g. 8 seconds)
The duration menu automatically adapts.
5. Generate your animation
Click Animate.
The animation:
Loads directly in your Workbench
Auto-plays
Loops by default (toggle available)

Exporting & Upscaling
After generation, you can export your video and if upscaling is available for paid users.
Upscale your animation to 2K or 4K for:
High resolution presentations
Client deliverables
Full-screen playback
Pitch decks & marketing materials
FAQ
Do I need both a start and end frame?
No, but you need a start frame.
Start → End
Start only
Why can’t I select 10 seconds?
10-second animations are available for Pro/Enterprise plans and for models that support that duration.
Why are some presets hidden?
Presets update based on:
Selected animation type
Number of attached frames
Model constraints
Why did my duration options change?
Certain models cap animation length. Vizcom automatically adapts the menu to valid settings.